
One of the most common issues I’ve faced is “WordPress Locked Out Issue” of my WordPress admin area. This can happen due to various reasons, which can be challenging to troubleshoot, especially for beginners like me.
I’m here to guide you to tell you how to fix “WordPress locked out” issue. I’ll show you what to do when you’re locked out of the WordPress admin (wp-admin) so you can regain access to your site.
Why Am I Locked Out of WordPress Admin?
I often hear from users who face the frustration of being locked out of their WordPress admin area. It’s frustrating because it halts productivity—you can’t write posts, respond to comments, or manage your site.
If you’re unable to log in to someone else’s WordPress self-hosted site, you should contact the site owner or admin for assistance. They can clarify why access is restricted and help resolve the issue.
If your admin account or admin dashboard gets locked, see if you need to fix the issue with security plugins. If you own the site, follow the troubleshooting steps below.
There are several reasons why you might get locked out of WordPress admin. Let’s explore each of them step-by-step to help you identify and fix the problem.
Expert Tips:
If you find yourself locked out of your WordPress account or website, the first step is to reset your password.This process allows you to regain access and log in to WordPress securely.
Whether you’re locked out due to forgetting your WordPress password or encountering a security issue, resetting your password is essential to regain control over your WordPress account and website.
Prefer leaving troubleshooting to professionals? Consider suitable WordPress Premium Support Services offer 24/7 emergency support and affordable solutions for small businesses.
15 Ways to Fix “WordPress Locked Out Issue” Issue
You should learn how to fix the “WordPress locked out” issue? Now, let’s delve into the steps you can take when locked out of WordPress admin.
1. Error Establishing Database Connection:

Are you seeing the ‘Error establishing database connection’ message across your site? This error can result from a corrupted database or server issues with your web host.
To fix the ‘Error establishing database connection’ in WordPress, you can follow these steps:
- Check Database Credentials: Ensure your database username, password, and host are correct in your WordPress configuration file (wp-config.php).
- Verify Database Server: Confirm that your database server is running and accessible. Contact your hosting provider if unsure.
- Repair Database: Use tools like phpMyAdmin to repair your WordPress database tables, especially if corruption is suspected.
- Check Web Server: Ensure your web server (Apache, Nginx) is functioning properly and can connect to the database server.
- Review Plugins and Themes: Deactivate recently installed plugins or themes that might be causing conflicts.
- Check Disk Space: Ensure there’s adequate disk space on your server, as low space can sometimes cause database connection issues.
2. 500 Internal Server Error:
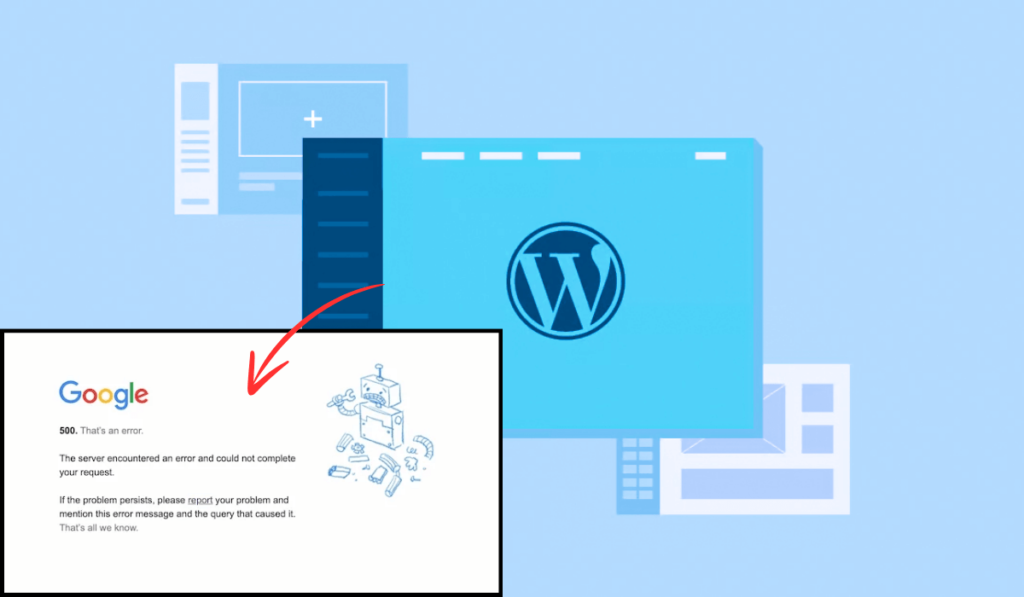
Another common issue is the “Internal Server Error” or “500 Internal Server Error”. This error indicates a problem without specifying its exact location.
To fix the “500 Internal Server Error” in WordPress, you can try these solutions:
- Check .htaccess File: Rename or regenerate your .htaccess file by temporarily renaming it to see if a corrupted .htaccess file is causing the issue.
- Increase PHP Memory Limit: Increase the PHP memory limit by editing the wp-config.php file or php.ini file to allocate more memory to WordPress.
- Check Plugins and Themes: Deactivate all plugins and switch to a default WordPress theme (like Twenty Twenty-One) to rule out any plugin or theme conflicts.
- Check File Permissions: Ensure file permissions are correctly set, especially for directories like wp-admin and wp-includes.
- Clear Cache: Clear your browser cache and WordPress cache (if using a caching plugin) to rule out cached files causing the error. Sometimes, it is also important to purge the cache from your Cloudflare CDN to ensure all cached data is refreshed.
- Check Server Logs: Review your server’s error logs (often found in cPanel or through your hosting provider’s dashboard) for specific error messages that could pinpoint the issue.
3. Your Site Is Experiencing a Technical Issue:

Facing a white screen or ‘The site is experiencing technical difficulties’ message? Check your admin email for WordPress notifications identifying problematic themes or plugins. Access your site in recovery mode via provided links, then deactivate the problematic plugin or theme.
4. 403 Forbidden Error:
Some users encounter the “HTTP Error 403 – Forbidden” when accessing wp-admin. This can result from incorrect file permissions, security plugin issues, or server configurations.
To resolve the “403 Forbidden Error” in WordPress, follow these steps:
- Check File Permissions: Ensure that correct file permissions are set for your WordPress files and directories. Directories should typically be set to 755, and files to 644.
- Disable Security Plugins: Temporarily deactivate any security plugins that might be overly restrictive or causing conflicts.
- Check .htaccess File: Review your .htaccess file for any rules that might be causing the 403 error. You can rename it temporarily to see if the issue resolves (WordPress will generate a new one).
- Check for Disk Errors: Sometimes, errors related to disk writing permissions can also lead to access issues. You can refer to this guide on how to fix the WordPress failed to write file to disk error for a detailed solution.

- Verify URL Restrictions: Ensure that your WordPress site URL and home URL settings are correct in the WordPress admin dashboard under Settings > General.
5. 401 Unauthorized Error:
Another message you might face when locked out of WordPress admin is the 401 error, often accompanied by “Access is denied due to invalid credentials” or “Authorization required”.
To resolve the “401 Unauthorized Error” in WordPress, follow these steps:

- Check WordPress Credentials: Ensure that your WordPress username and password are correct. Double-check for typos and ensure the correct case is used.
- Reset Password: If you suspect the password is incorrect or compromised, reset it via the WordPress login page or through phpMyAdmin if necessary.
- Disable Security Plugins: Temporarily deactivate any security plugins that might be causing authentication issues.
- Verify File Permissions: Ensure correct file permissions (usually 755 for directories and 644 for files) to avoid access issues.
6. Limited Logins:
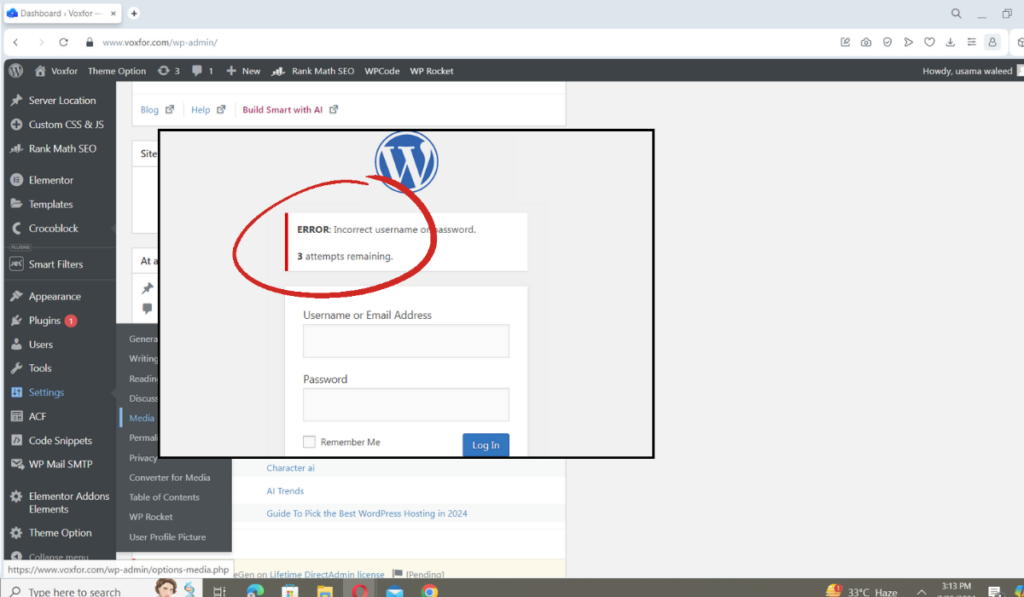
WordPress allows unlimited password attempts by default, which hackers may exploit using scripts to crack your website. To prevent this, limit failed login attempts per user. However, excessive failed attempts may also lock you out.
To address limited logins in WordPress:
- Limit Login Attempts: Use a plugin like “Limit Login Attempts Reloaded” to restrict the number of failed login attempts per user.
- Increase Security: Implement strong passwords and consider adding two-factor authentication (2FA) for additional security.
- Monitor Login Activity: Regularly check login logs to detect any suspicious activity or brute-force attempts.
- Unlock Account: If you get locked out due to too many failed attempts, refer to this guide on fixing the fatal error: max execution time exceeded to unlock your account through phpMyAdmin or the plugin’s settings.
7. White Screen of Death:

Encountering a blank white screen on your WordPress admin is known as the white screen of death. This often results from memory limit exhaustion due to poorly coded themes or plugins, or unreliable hosting. Most effective solution is to clear cache.
8. Incorrect Password Issue:
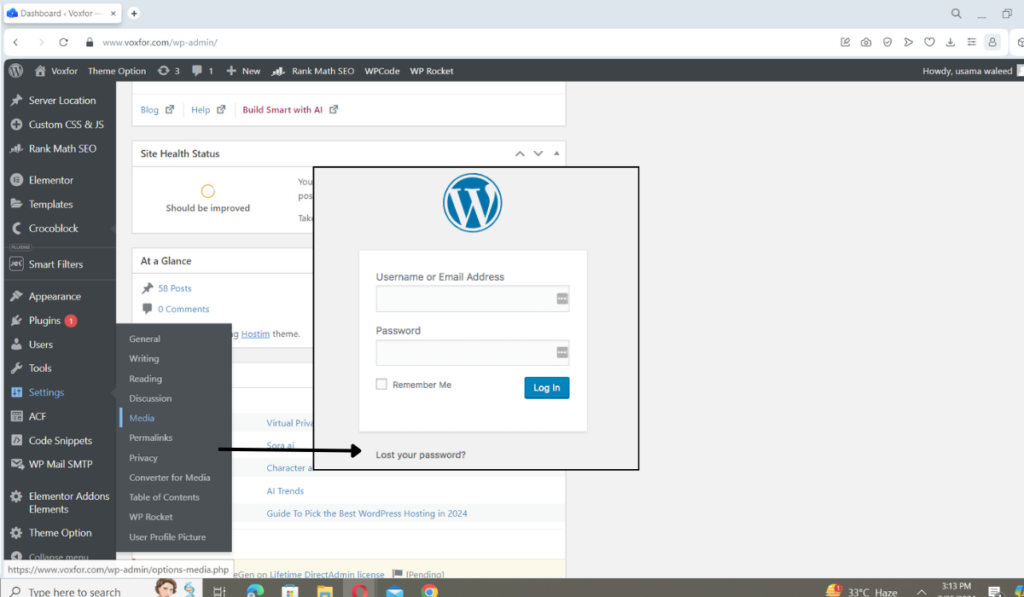
Nothing’s more frustrating than being told your password is incorrect when you’re sure it’s right. This can happen due to hacks or simple mistakes. If changing your password via email fails because you no longer have access, reset it using phpMyAdmin. This method may seem daunting but is crucial for regaining admin access.
9. Problems With Plugins:

You may be locked out due to a malfunctioning plugin or theme, especially after installing new plugins. Temporarily disable plugins via FTP or phpMyAdmin on deactivating all plugins without wp-admin access.
10. Lost Admin Privileges:
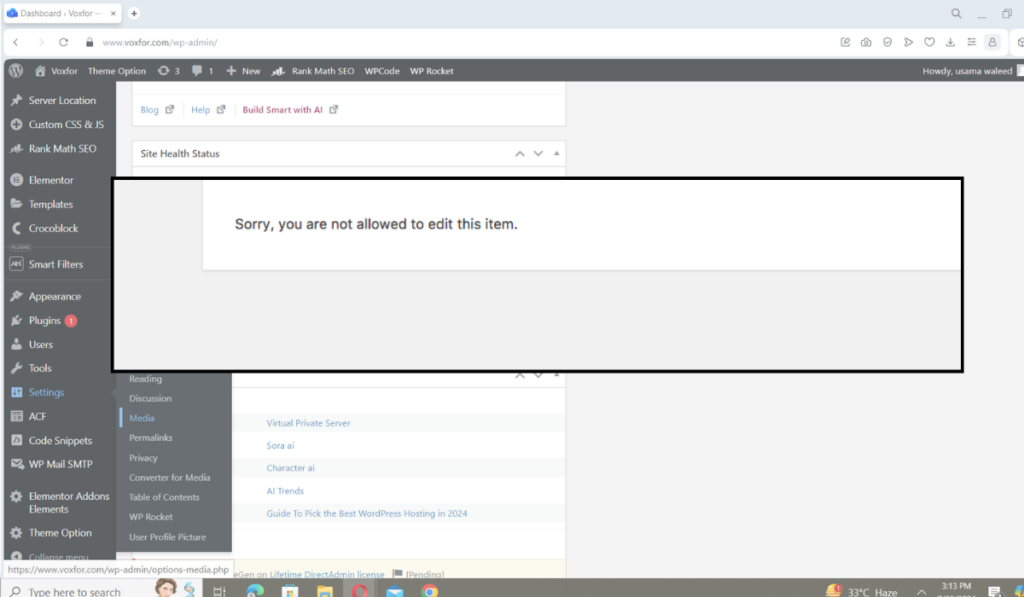
While you may log in, you might lack admin rights to manage themes or plugins. This could result from modified user permissions or a hack. In such cases, add an admin user via MySQL (phpMyAdmin) to restore privileges.
11. Hacked WordPress Site:
If you suspect a hack, take immediate action. A hacked site can alter content, infect visitors, or compromise security. Start by fixing your hacked WordPress site. Learn to identify, restore from backup, and remove malware.
12. Login Page Refreshing and Redirecting:
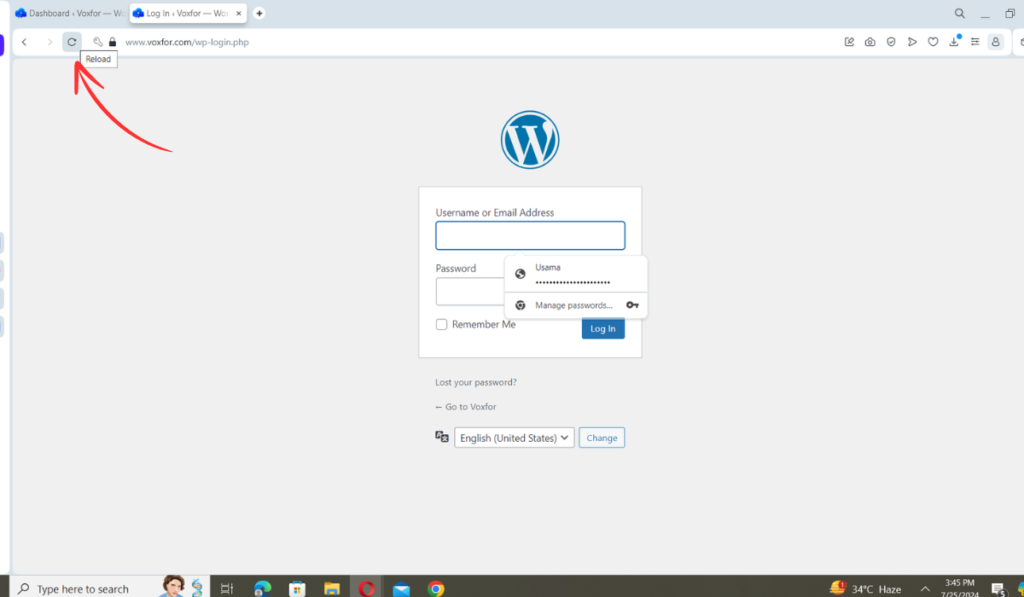
Login errors can occur when your WordPress login page repeatedly refreshes and redirects. This may stem from incorrect site URL settings or .htaccess file redirects. Fix this issue with resolving WordPress login page refreshing and redirecting.
13. ‘This Has Been Disabled’ Error:
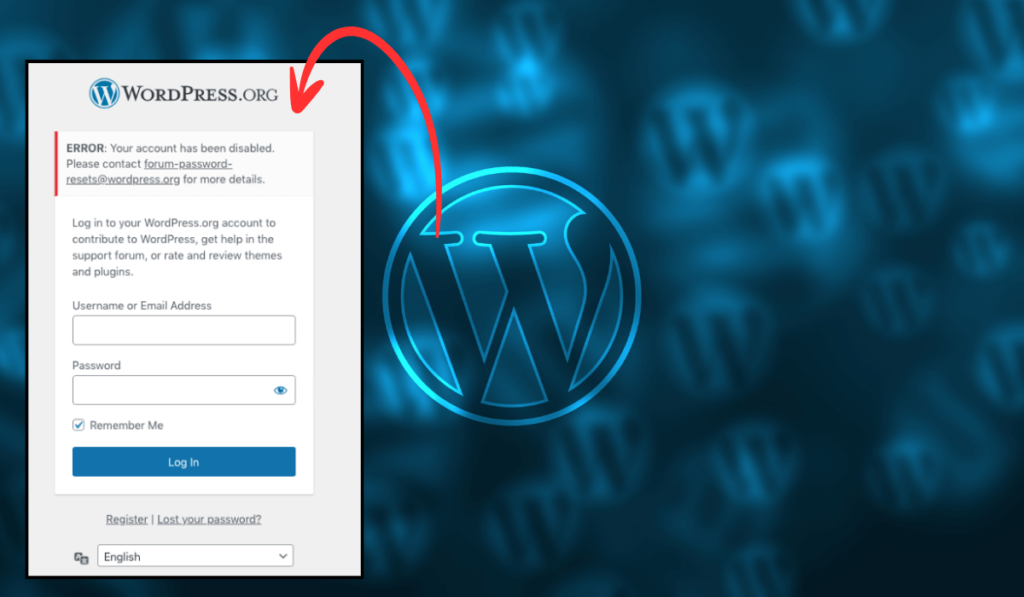
Seeing ‘This has been disabled’ when trying to log in suggests you’re using an outdated admin URL. Secure your site by changing the default admin login URL. If you forget the new URL, find it on locating your WordPress login URL.
14. ‘Briefly Unavailable for Scheduled Maintenance’ Error:
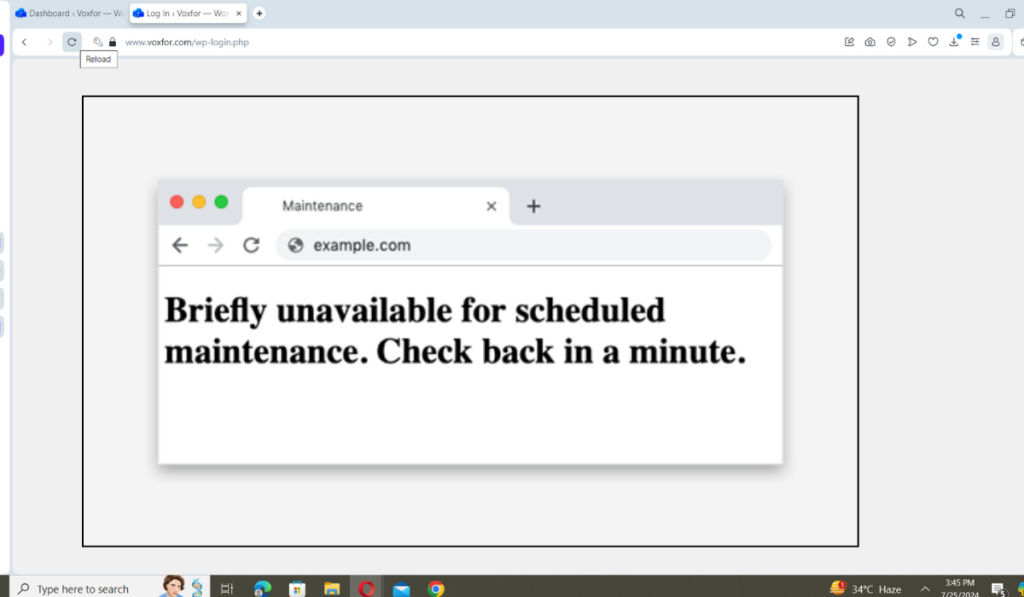
Encounter the ‘Briefly unavailable for scheduled maintenance’ error during updates? This happens if an update fails, leaving your site stuck in maintenance mode. Resolve this by fixing the Briefly Unavailable for Scheduled Maintenance error in WordPress.
15. PHP Syntax Errors:
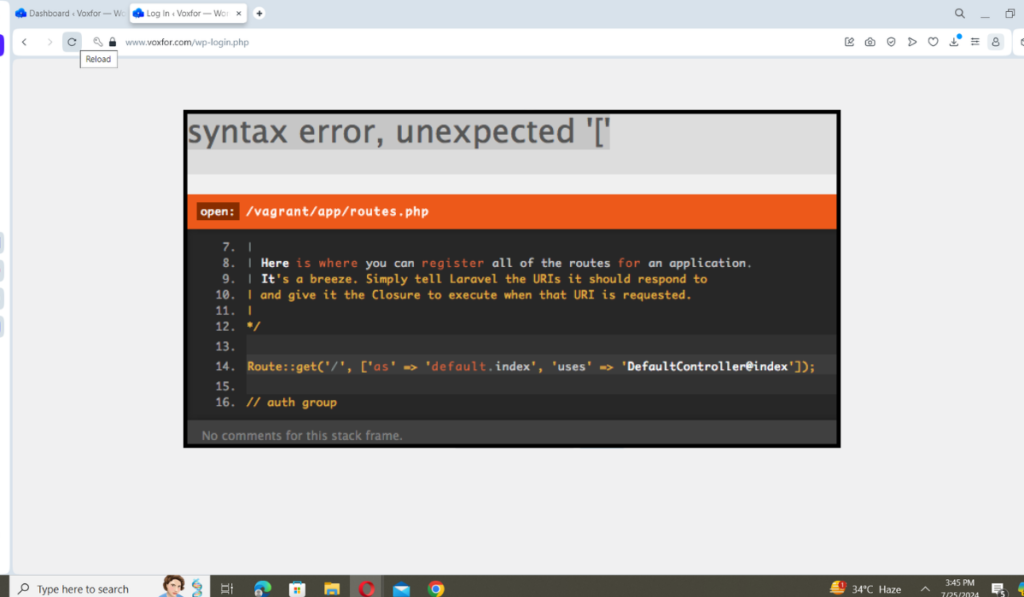
Paste incorrect code snippets from tutorials? It can break your site and prevent login. Use plugins like WPCode for safer code integration. For help with manual fixes via FTP, resolve syntax errors in WordPress.
Conclusion
I hope this guide helps you resolve the ‘locked out of WordPress admin’ issue. Explore more WordPress tips, including choosing hosting and essential plugins for site growth. Hope now you know how to fix “WordPress locked out” issue.
Remember, maintaining a secure and functional WordPress site involves regular backups, staying updated with the latest security measures, and being vigilant about plugin and theme installations. By following the steps outlined here, you’ll not only regain access to your site but also enhance its overall stability and security.


