DeepSeek is a revolutionary AI model that has demonstrated efficient server deployment capabilities in recent years. Its substantial capabilities will change our current data processing and engagement methods. To make managing and running DeepSeek easier, we can utilize Ollama, a lightweight command-line tool designed for handling large AI models locally or on cloud-based VPS. This guide will provide you with a step-by-step process for setting up and running DeepSeek on your server using Ollama.
By the end of this tutorial, you will have a fully functional AI system at your disposal, ready for various tasks such as content generation, data analysis, and automation. You’ve successfully navigated the complexities of setting up and running DeepSeek on your server using Ollama, and now you’re ready to unleash the power of AI.
Ollama simplifies the process of running large language models by:
Before we start, make sure the server meets the following requirements:
Update and Upgrade your server to ensure all packages are up to date by executing:
sudo apt update && sudo apt upgrade -y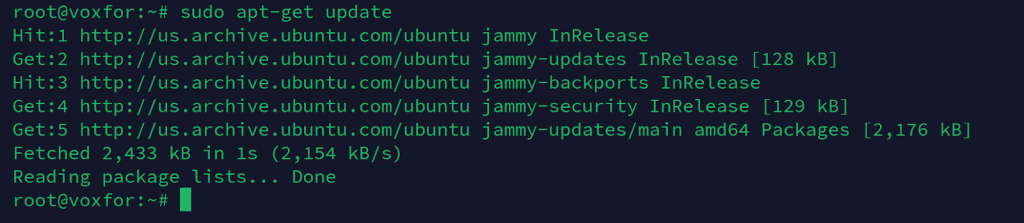
Additionally, confirm that you have sudo privileges to execute administrative tasks.
To install Ollama on your server, run the following command:
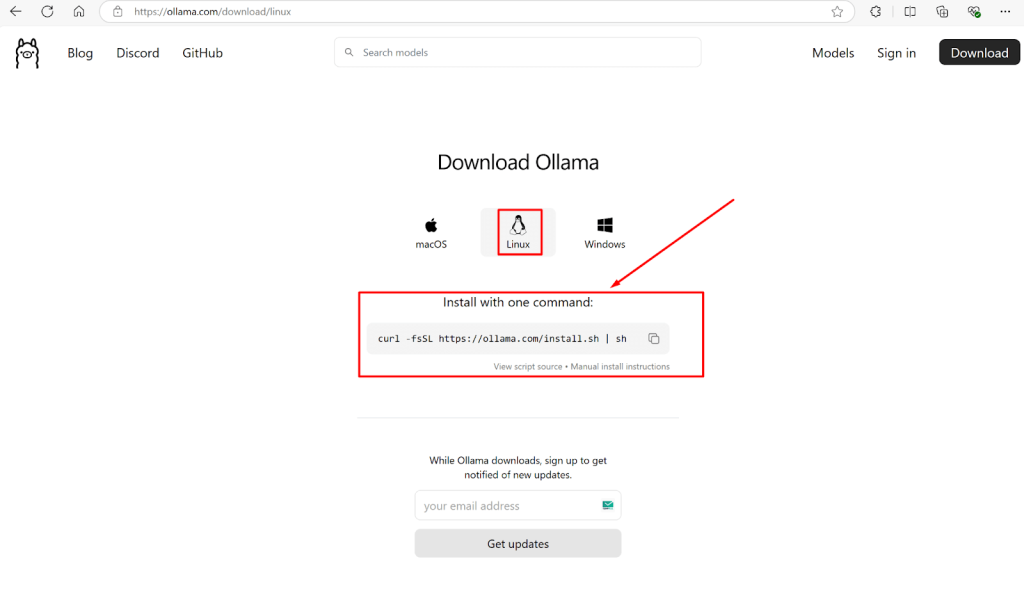
curl -fsSL https://ollama.com/install.sh | sh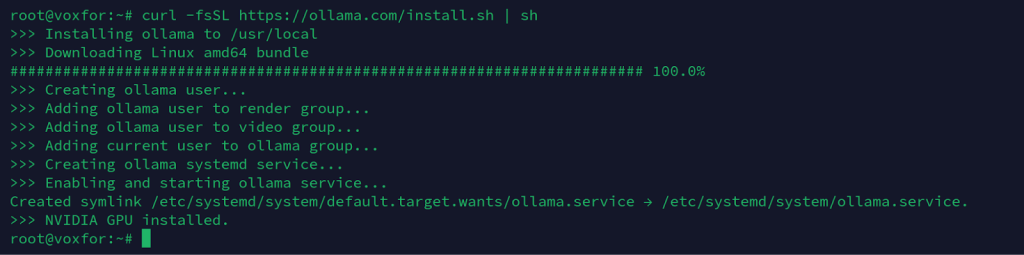
This script will automatically download and configure Ollama on your system. Once installed, verify its installation by running:
ollama --version
If the installation is successful, you should see the version number displayed in the terminal.
Once Ollama is installed on our server, the next step is to pull the DeepSeek model. Execute the following command:
ollama pull deepseek-r1:70b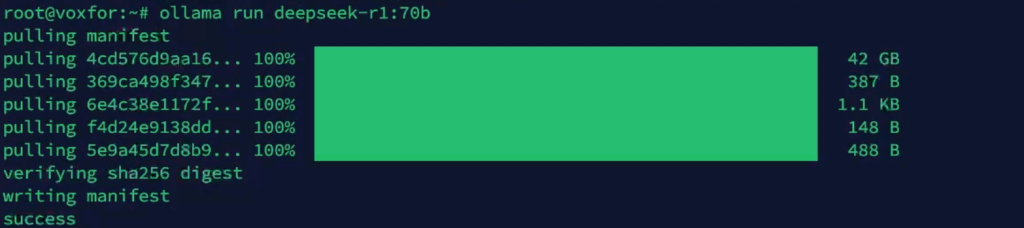
This command will download and install DeepSeek. After installation, you can run the model using:
ollama run deepseek-r1:70bNow, you can start interacting with DeepSeek by entering your queries.
If you want to manage DeepSeek using a graphical interface, you can install Docker to run a web-based UI like OpenWebUI. Follow these steps to install Docker:
Add Docker’s GPG key:
sudo mkdir -p /etc/apt/keyrings
curl -fsSL https://download.docker.com/linux/ubuntu/gpg | sudo tee /etc/apt/keyrings/docker.asc
sudo chmod a+r /etc/apt/keyrings/docker.asc
Add the Docker repository:
echo "deb [arch=$(dpkg --print-architecture) signed-by=/etc/apt/keyrings/docker.asc] \https://download.docker.com/linux/ubuntu $(lsb_release -cs) stable" | \
sudo tee /etc/apt/sources.list.d/docker.list > /dev/null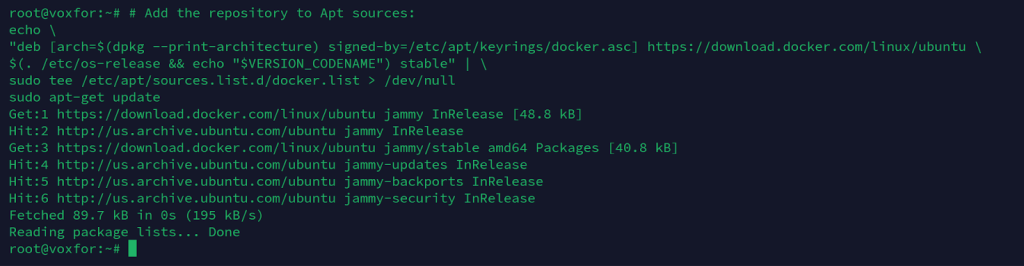
Install Docker:
sudo apt-get update
sudo apt-get install docker-ce docker-ce-cli containerd.io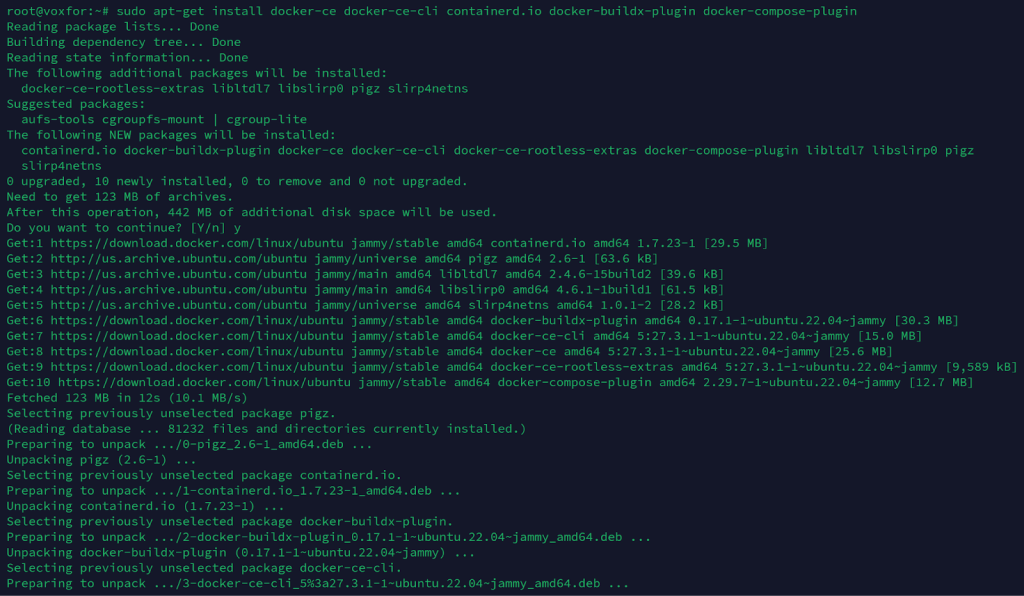
docker --versionTo manage DeepSeek via a browser, deploy OpenWebUI with Docker:
docker run -d --network host -v openwebui/app:/backend/data \
-e OLLAMA_BASE_URL=http://127.0.0.1:11434 --name open-webui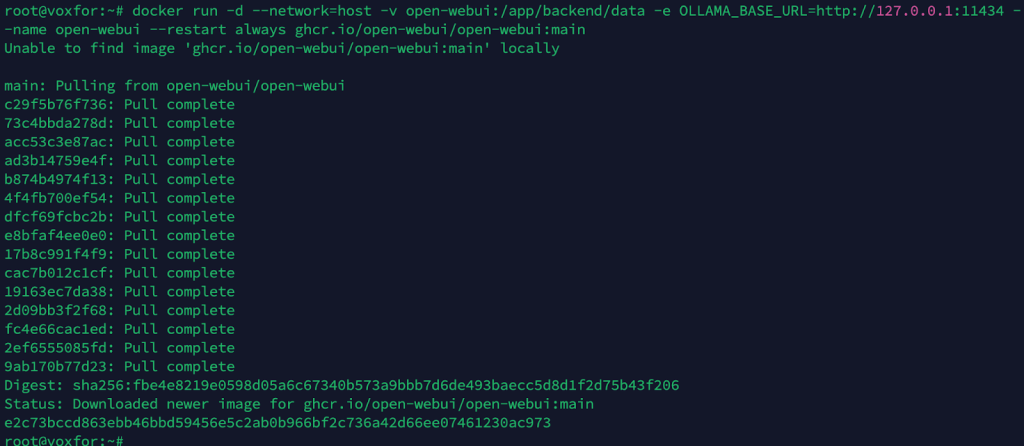
Once running, access OpenWebUI in your browser at:
http://127.0.0.1:3000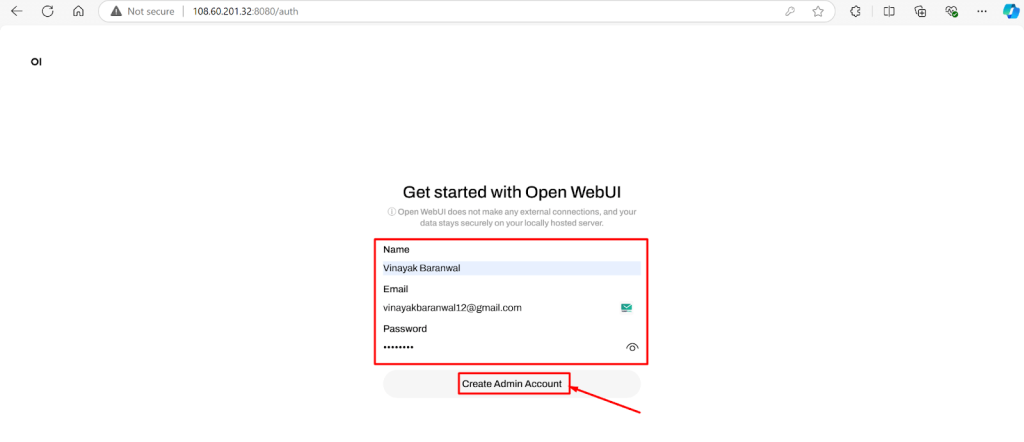
You can now interact with DeepSeek through an intuitive graphical interface.
If your server has a GPU, use NVIDIA’s monitoring tool to track its usage:
nvidia-smi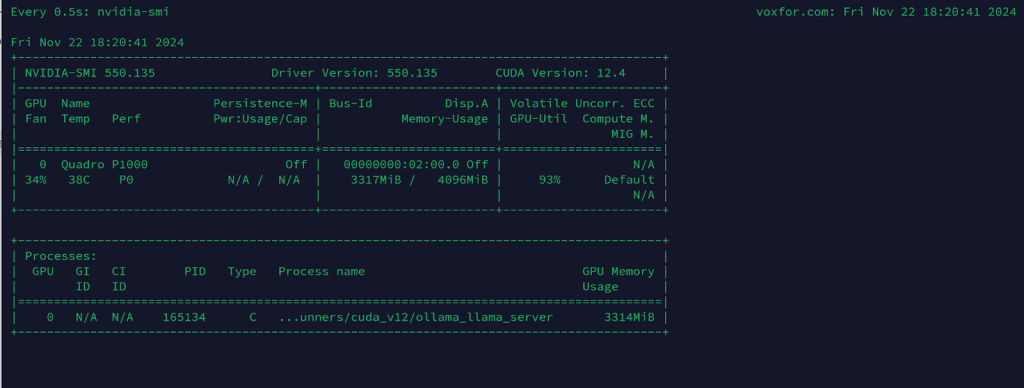
Here are some common issues you might encounter when setting up DeepSeek and how to fix them.
1. Docker Container Not Running
Run the following command to check the status of Docker:
docker ps
If OpenWebUI is not running, restart the container:
docker restart open-webui
2. DeepSeek Model Not Loading
Check installed models:
ollama list
If the DeepSeek model is missing, reinstall it:
ollama pull deepseek-r1:70b
3. Server Access Issues
Ensure firewall rules allow traffic on necessary ports (e.g., 11434 for Ollama and 3000 for OpenWebUI):
sudo ufw allow 11434
sudo ufw allow 3000
The OpenWebUI dashboard is designed for simplicity and efficiency. Key sections include:
This structure provides a user-friendly environment for interacting with AI models and configuring workflows.

The Settings tab offers several customization options:


The Models Tab in Admin Panel allows you to:

Each model can be individually configured to suit your needs:

The Database Tab provides tools for managing system data:

Advanced settings include:


The Users Tab in the OpenWebUI admin panel allows administrators to manage user roles. Users can be set as Admin or remain Pending depending on the access level they require. To update the role of a user, simply click on the pencil icon next to their name.

If users face restricted access, they may see an Account Activation Pending message. This issue occurs when admin approval is needed. Navigate to the admin panel and activate user accounts to resolve this problem. Contact the administrator if the issue persists.

Here’s an example of how you can create a simple HTML page during a chat interaction with DeepSeek. The screenshot below showcases a basic conversation:

In this example, the user requested a simple “Hello World” HTML page, and the AI promptly generated a clean and concise code snippet. Such interactions demonstrate the flexibility and responsiveness of DeepSeek when deployed with Ollama.
This guide’s process helped you successfully install and set up DeepSeek on your server using Ollama. Ollama delivers two operational interfaces: a command-line interface and a web-based interface, which improves the execution of AI tasks.
The analysis should proceed by maximizing model potential, establishing API integrations, and exploiting GPU processing capabilities for greater efficiency. Happy AI computing!

Vinayak Baranwal wrote this article. Use the provided link to connect with Vinayak on LinkedIn for more insightful content or collaboration opportunities


 Lifetime Hosting
 France Lifetime Dedicated Servers
 Germany Lifetime dedicated servers
 Lifetime Game Dedicated Servers
 Chicago, US
 Singapore
 Hong Kong
 Seoul, South Korea
 Amsterdem, Netherlands
 London, UK
 Zurich, Switzerland
 Sydney, Australia
 DDOS Protection
 Submit Ticket
 Full Management
 Videos and Podcasts
 Voxfor Advanced Price Management For WooCommerce
 Voxfor AI Content Summary


