When managing a WordPress website, you may eventually encounter a frustrating error message:
Fatal error: Maximum execution time of 30 seconds exceeded
This error typically appears during plugin installations, theme updates, large imports, backups, or heavy database operations. It happens because PHP stops a script that runs longer than the server allowed time limit.
Understanding how this works and how to properly increase it is essential for website owners, developers, and server administrators.
In this guide, we’ll explain everything in detail, including what max execution time means, why it exists, when you should increase it, and the safest methods to do so.

PHP is the scripting language that powers WordPress. Every time someone visits your website, PHP executes scripts to generate the page dynamically.
To prevent server abuse and infinite loops, PHP sets a time limit for how long a script can run. This limit is controlled by a configuration directive called:
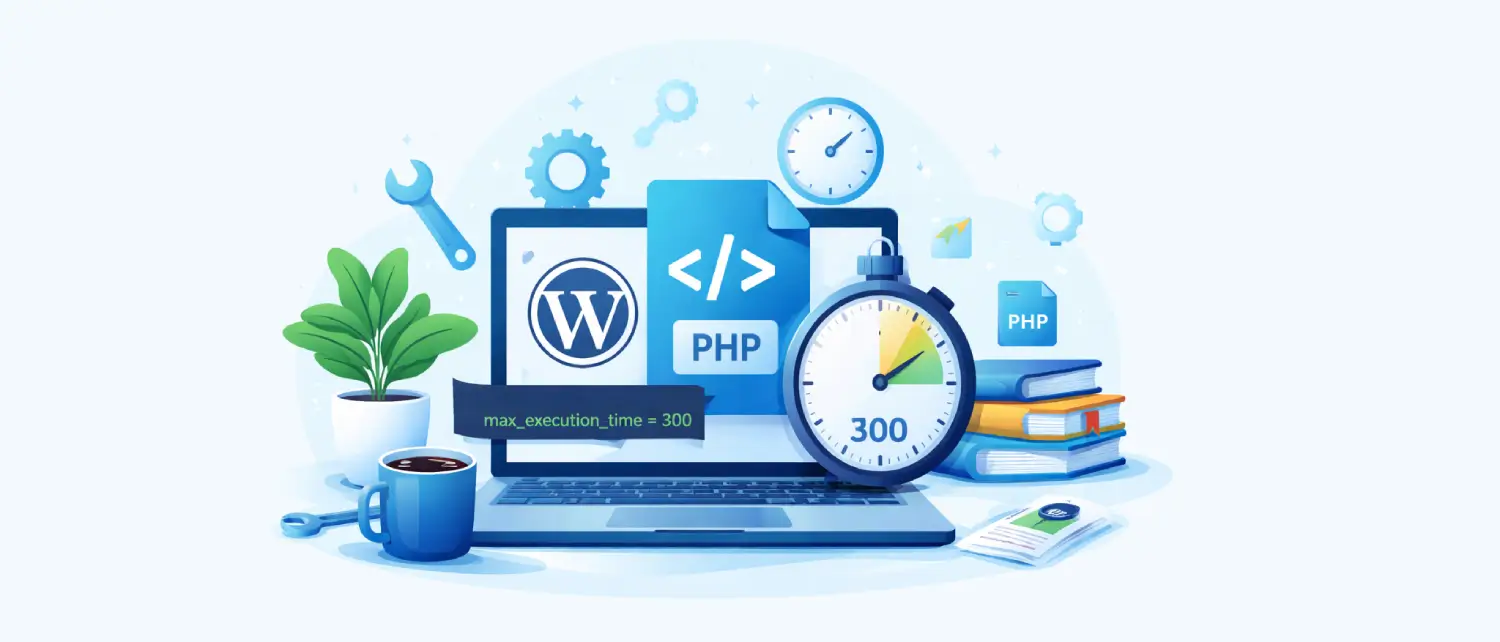
max_execution_time
The value is measured in seconds.
For example:
max_execution_time = 30
This means any PHP script running longer than 30 seconds will automatically terminate.
The execution time limit exists for several important reasons:
Without limits, poorly written scripts could run endlessly and consume CPU resources.
On shared servers, one website using excessive resources can affect other users.
Malicious scripts could intentionally run long processes to overload the system.
The time limit acts as a safeguard to keep servers stable and responsive.
While the default limit (often 30 seconds) works for basic page loads, certain operations require more time.
Common scenarios include:
If the process exceeds the limit, PHP terminates it mid-way, causing incomplete tasks or failure errors.
Before changing anything, it’s important to verify your current settings.
Create a file named:
info.php
Add the following code:
<?php
phpinfo();
?>
Upload it to your root directory and open:
yourdomain.com/info.php
Search for:
max_execution_timeThis shows the active value set by your server.
Important: Delete this file after checking for security reasons.
There is no universal value that fits all websites. However, general recommendations are:
| Use Case | Recommended Time |
| Basic WordPress site | 60–120 seconds |
| Medium website with imports | 180–300 seconds |
| Large backups or migrations | 300–600 seconds |
Avoid setting extremely high values unless necessary.
Now let’s explore every reliable method, from beginner-friendly to advanced server-level changes.
If you have VPS, dedicated hosting, or root access, editing php.ini is the most reliable way.
Common locations include:
/etc/php/8.x/apache2/php.ini
/etc/php/8.x/fpm/php.iniSearch for:
max_execution_time = 30Example:
max_execution_time = 300This allows scripts to run for 5 minutes.
After saving changes, restart:
Apache:
sudo systemctl restart apache2Nginx:
sudo systemctl restart nginxWithout restarting, changes won’t apply.
If your website runs on Apache and your hosting provider allows overrides, you can modify execution time directly inside the .htaccess file.
The file is usually inside your WordPress root directory:
public_html/
php_value max_execution_time 300This increases the limit to 300 seconds.
You may see an Internal Server Error (500) after adding this line. This happens if:
• Your host disables PHP overrides in .htaccess
• You are running PHP-FPM
• The server is using Nginx instead of Apache
If that happens, remove the line immediately and try another method below.
WordPress allows you to extend execution time without touching server files.
It’s located in the WordPress root directory.
Place it above:
/* That's all, stop editing! */
Add:
set_time_limit(300);This instructs PHP to allow 5 minutes for script execution.
This method works only if the server configuration allows runtime changes. Some hosting providers restrict it.
If you need to increase execution time for a specific script (for example, a custom import tool), you can add:
ini_set('max_execution_time', '300');Place it at the top of the PHP file.
This method is ideal for:
It does not change the limit globally, only for that specific script.
Many hosting providers offer an easy interface for modifying PHP settings.
max_execution_timeThis is the safest method for non-technical users.
If your server uses Nginx, .htaccess will not work.
You must edit your Nginx configuration file.
Common paths:
/etc/nginx/nginx.conf

/etc/nginx/sites-available/defaultlocation ~ \.php$ {
include fastcgi_params;
fastcgi_read_timeout 300;
}sudo systemctl restart nginxThis adjusts the timeout for PHP processing under Nginx.
If your server uses PHP-FPM, the limit might be controlled inside the FPM pool configuration.
/etc/php/8.x/fpm/pool.d/www.confrequest_terminate_timeout = 300sudo systemctl restart php8.x-fpm
Replace the version number accordingly.
Sometimes, increasing max execution time does not solve the issue. Here’s why:
If your memory limit is small, the script may fail before time runs out.
Check:
memory_limitSome hosts enforce hard limits that cannot be overridden via WordPress.
If none of the methods work, contact hosting support and request:
3. Long-Running Scripts Should Be Optimized
An increasing time limit is not always the best solution.
Better alternatives:
WP-CLI for heavy tasksSetting extremely high values like:
max_execution_time = 0means unlimited execution time.
This is dangerous because:
Always choose a reasonable value based on your use case.
For most WordPress websites:
WP-CLI for heavy operationsIncreasing PHP max execution time can be an effective way to prevent interruptions during resource-intensive tasks such as installing large plugins, performing bulk imports, handling website migrations, generating full site backups, or running complex WooCommerce operations. These processes often require more processing time than the default server limit allows, and extending the execution window ensures they complete without being prematurely terminated.
However, raising this limit should never be your first or only solution. Timeouts are often a symptom of deeper issues such as inefficient code, low memory limits, server resource constraints, or unoptimized database queries. Simply increasing the value to an extremely high number may temporarily hide the problem rather than solve it.
A smarter approach is to identify the root cause of the delay and combine an appropriate execution time setting with proper server configuration, adequate memory allocation, and optimized scripts. This balanced strategy helps maintain both performance and long-term stability, ensuring your website runs efficiently without compromising server health.

Hassan Tahir wrote this article, drawing on his experience to clarify WordPress concepts and enhance developer understanding. Through his work, he aims to help both beginners and professionals refine their skills and tackle WordPress projects with greater confidence.


 Lifetime Hosting
 France Lifetime Dedicated Servers
 Germany Lifetime dedicated servers
 Lifetime Game Dedicated Servers
 Chicago, US
 Singapore
 Hong Kong
 Seoul, South Korea
 Amsterdem, Netherlands
 London, UK
 Zurich, Switzerland
 Sydney, Australia
 DDOS Protection
 Submit Ticket
 Full Management
 Videos and Podcasts
 Voxfor Advanced Price Management For WooCommerce
 Voxfor AI Content Summary


