
The errors of Git SSL certificates may put your development process to a full stop. Trying to clone, pull, push or fetch something on a remote repository, you are faced with an issue concerning the SSL certificate. This is because Git is unable to connect with the server in a secure way. This step-by-step guide gives you an understanding of these errors, their underlying causes and the real ways in which they can be resolved so that you get back on track within a shorter time.
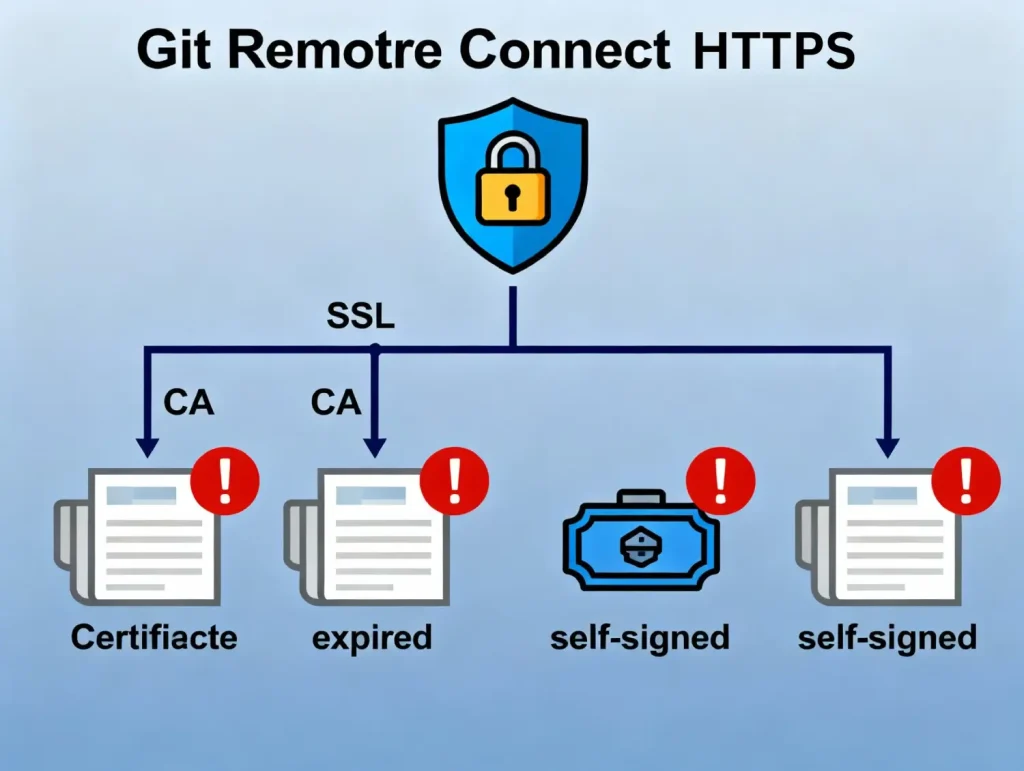
When connecting to a remote Git repository over HTTPS, Git uses SSL/TLS certificates to encrypt your connection and verify the identity of the remote server. Through these certificates, you can be sure that you are communicating with the genuine server, and the information is secure in transit. Git also displays an error when it is unable to recognize an SSL certificate and refuses to continue with the operation.
The most frequent SSL certificate errors you’ll encounter in Git include:
Understanding why these errors occur helps you choose the right solution. The primary causes include:
Outdated CA Certificate Bundles – Git relies on your system’s certificate store to verify SSL certificates. If your certificates are outdated, Git won’t trust newer certificates from remote servers.
Self-Signed Certificates – Private or internal Git servers often use self-signed certificates that aren’t automatically trusted by your system.
Corporate Proxy/Firewall SSL Interception – Many organizations implement SSL inspection that decrypts and re-encrypts HTTPS traffic, replacing the original certificate with the company’s own certificate.
Incorrect System Date and Time – SSL certificates are time-sensitive. An incorrect system clock can cause valid certificates to appear expired or not yet valid.
Expired Certificates – Both server certificates and root CA certificates can expire, causing verification failures.
Misconfigured Git SSL Settings – Incorrect Git configuration options related to SSL can prevent successful certificate verification.
Before diving into SSL debugging, confirm that your repository URL is correct. An incorrect URL might cause Git to connect to the wrong server entirely.
Check your remote URL by running:
git remote -vThis command displays the fetch and push URLs for your repository. Ensure the URL uses https:// and points to the correct server. If the URL is incorrect, update it with:
git remote set-url origin <correct-repo-url>Replace <correct-repo-url> with the proper HTTPS URL for your repository.
One of the most frequent reasons for failure in the verification of the SSL is due to the outdated certificates issued by the CA. Maintaining them will make sure that your system has the ability can trust the certificates that are issued by existing Certificate Authorities.
Option A: Use Windows Certificate Store (Recommended)
Windows: The best option that Windows users can use is to set Git to use the Windows Secure Channel (SChannel) backend, which utilizes the Windows Certificate Store rather than a third-party CA bundle:
git config --global http.sslBackend schannelThis single command tells Git to use Windows’ built-in certificate management, automatically trusting the same certificates that your browser and other Windows applications trust.
Option B: Update Git for Windows
Updating Git for Windows installs the latest CA certificates bundle. Run this command in Git Bash:
git update-git-for-windowsAlternatively, download and install the latest version:
Option C: Manually Update CA Bundle
git config --global http.sslCAinfo "C:/Program Files/Git/usr/ssl/ca-bundle.crt"Update your CA certificates using Homebrew:
brew install ca-certificatesTo add a specific certificate to the system keychain:
sudo security add-trusted-cert -d -r trustRoot -k /Library/Keychains/System.keychain /path/to/certificate.crtThe command varies by distribution:
Ubuntu/Debian:
sudo apt-get update

sudo apt-get install --reinstall ca-certificates

sudo update-ca-certificates

CentOS/RHEL/Fedora:
sudo yum reinstall ca-certificates
# or for Fedora
sudo dnf install ca-certificates
sudo update-ca-trust extractArch Linux:
sudo pacman -Sy ca-certificates-utils

trust extract-compat
After updating certificates, verify Git can access them by checking the configuration:
git config --get http.sslCAinfoWhen working with private or internal Git servers that use self-signed certificates, you need to explicitly tell Git to trust these certificates.
Use OpenSSL to download the server’s certificate:
bash
openssl s_client -connect your-git-server.com:443 -showcerts </dev/null 2>/dev/null | openssl x509 -outform PEM > git-server-cert.pemReplace your-git-server.com with your Git server’s domain or IP address.
For macOS/Linux:
sudo cp git-server-cert.pem /usr/local/share/ca-certificates/

sudo update-ca-certificates
For Windows:
After adding the certificate to your trust store, point Git to it:
git config --global http.sslCAinfo /path/to/git-server-cert.pemFor repository-specific configurations (recommended when dealing with a single internal server):
bash
git config http."https://your-git-server.com/".sslCAInfo /path/to/git-server-cert.pemWithin corporate settings, the security teams tend to install the form of an SSL inspection (also known as SSL interception or HTTPS inspection) at the firewall level. This operation encrypts, monitors and decrypts all the traffic of HTTPS with the help of its certificate.
When SSL inspection is active:
Step 1: Obtain Your Company’s Root Certificate
Contact your IT department and request the corporate root certificate. They might call it:
Step 2: Install the Certificate
On Windows:
bash
# Add the certificate to Windows Certificate Store

certutil -addstore -f "ROOT" company-root-cert.crt

# Configure Git to use Windows Certificate Store

git config --global http.sslBackend schannel
On Linux:
# Copy certificate to the trust store directory

sudo cp company-root-cert.crt /usr/local/share/ca-certificates/

# Update the certificate trust

sudo update-ca-certificates

# Point Git to the updated certificate bundle

git config --global http.sslCAinfo /etc/ssl/certs/ca-certificates.crt
On macOS:
sudo security add-trusted-cert -d -r trustRoot -k /Library/Keychains/System.keychain company-root-cert.crtSSL certificates have strict validity periods. If your system clock is significantly off, valid certificates may appear expired or not yet valid.
For macOS/Linux:
sudo ntpdate pool.ntp.orgOr use timedatectl on systemd-based systems:
sudo timedatectl set-ntp trueFor Windows:
If you need a quick fix for testing purposes, you can temporarily disable SSL verification. Warning: This bypasses security protections and makes your connection vulnerable to man-in-the-middle attacks. Never use this as a permanent solution.
git config --global http.sslVerify falsegit config --global http.sslVerify trueGIT_SSL_NO_VERIFY=true git clone https://example.com/repo.gitNavigate to the repository directory and run:
git config http.sslVerify falseThis limits the security bypass to just one repository rather than affecting all Git operations.
A safer approach is to disable verification only for a specific server:
git config --global http.https://your-problematic-server.com/.sslVerify falseIn case HTTPS still has issues, it is recommended to use SSH in the Git operations. SSH offers secure encryption and authentication without using SSL certificates.
ssh-keygen -t ed25519 -C "[email protected]"eval "$(ssh-agent -s)"
ssh-add ~/.ssh/id_ed25519cat ~/.ssh/id_ed25519.pubgit clone [email protected]:username/repository.gitgit remote set-url origin [email protected]:username/repository.git
Following these practices helps prevent SSL certificate problems in the future:
Keep Git Updated – Newer Git versions include updated CA certificate bundles and improved SSL handling. Regularly update Git on all development machines.
Maintain Updated System Certificates – Set up automatic certificate updates on your operating system to ensure your CA trust store stays current.
Never Permanently Disable SSL Verification – While disabling verification provides a quick fix, it exposes your credentials and code to potential attacks. Always address the root cause.
Use Complete Certificate Chains – When deploying private Git servers, ensure you configure the complete certificate chain, including intermediate certificates.
Document Corporate Certificate Requirements – In corporate environments, document the process for installing company root certificates so new team members can quickly configure their systems.
Verify Server Certificates – Before adding certificates to your trust store, verify their authenticity through your IT department or server administrators.
Monitor Certificate Expiration – Set up monitoring for certificate expiration dates on your Git servers to prevent unexpected outages.
If you’re still experiencing issues after trying the solutions above, work through this checklist:
Although annoying, the problem of GitSSL certificates is quite easy to fix as soon as you are aware of the reasons behind it. The best ways are to renew your CA certificates, set Git to use your systems certificate store or correctly trust self-signed certificates.
In corporate environments where SSL inspection is common, obtaining and installing the company’s root certificate is essential for seamless Git operations.
While disabling SSL verification can serve as a quick workaround for testing, it should never be used as a permanent solution due to significant security risks. For persistent HTTPS issues, switching to SSH provides a robust alternative that bypasses SSL certificate requirements entirely.
By following the steps outlined in this guide and maintaining proper certificate hygiene, you can ensure secure and reliable Git operations across all your development environments.

Hassan Tahir wrote this article, drawing on his experience to clarify WordPress concepts and enhance developer understanding. Through his work, he aims to help both beginners and professionals refine their skills and tackle WordPress projects with greater confidence.


 Lifetime Hosting
 France Lifetime Dedicated Servers
 Germany Lifetime dedicated servers
 Lifetime Game Dedicated Servers
 Chicago, US
 Singapore
 Hong Kong
 Seoul, South Korea
 Amsterdem, Netherlands
 London, UK
 Zurich, Switzerland
 Sydney, Australia
 DDOS Protection
 Submit Ticket
 Full Management
 Videos and Podcasts
 Voxfor Advanced Price Management For WooCommerce
 Voxfor AI Content Summary


