
This guide will show you how to add DNS A Record settings in cPanel, First login using the admin link provided by Voxfor. Once logged in, you’ll be taken to the cPanel dashboard, which offers a range of tools for managing your website and hosting settings. To add or edit DNS records, type “zone” in the search bar to locate the Zone Editor. Click on “Zone Editor” to access DNS zone management. Find the “A Record” for help.voxfor.com and select it for editing. Enter “test.cpanel” in the “Name” field and “1.2.3.4” in the “Address” field, then click “Add An A Record” to finalize the addition. A confirmation message will verify that your new A record has been successfully created. For further assistance, view our detailed video tutorial linked below.
cPanel DNS management
A records point visitors to your server, so the hosting foundation matters. Voxfor VPS gives you control over DNS, domains, and website performance from one place.
To log in to the cPanel control panel, you will need to visit the admin link provided in the details received from Voxfor.

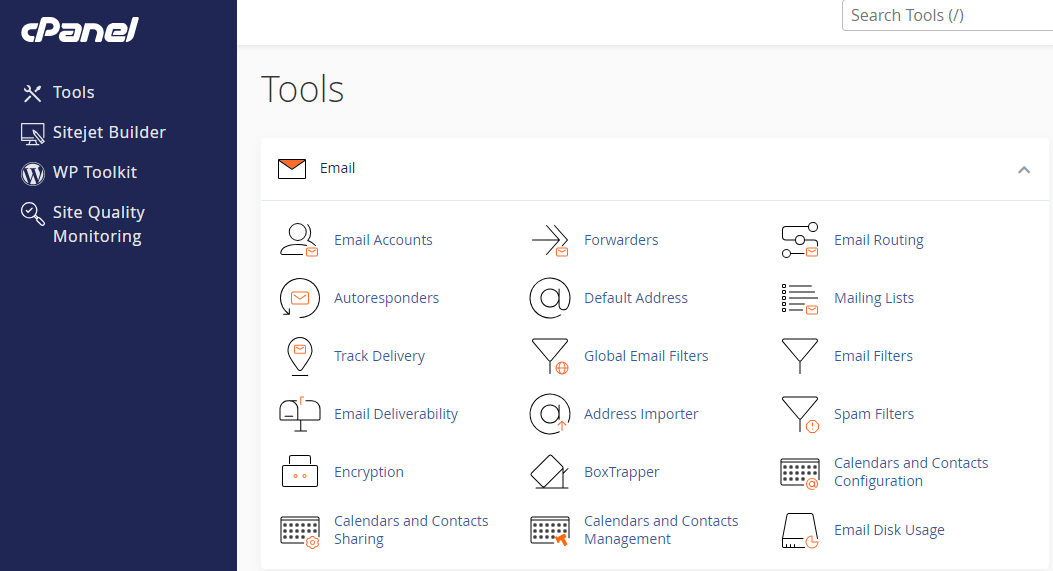
After clicking “Login,” you’ll be taken directly to the cPanel dashboard, where you can manage your website and hosting settings. The dashboard provides easy access to all the tools and features you need.
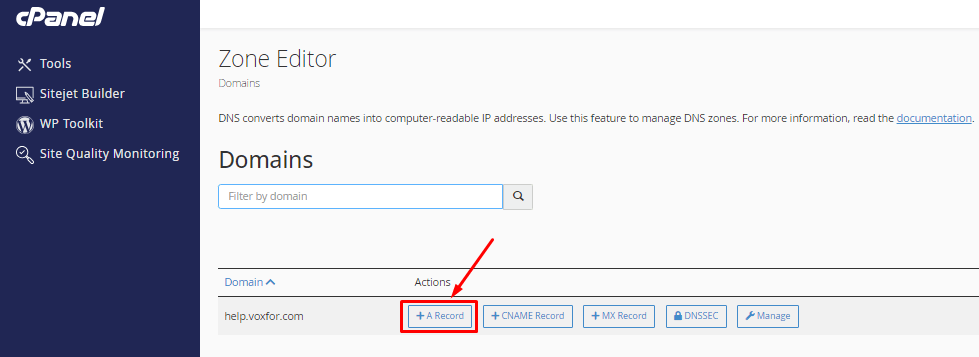
In cPanel, type “zone” into the search bar to find the Zone Editor. Click on “Zone Editor” from the dropdown menu to access DNS zone management settings.

In the Zone Editor menu, locate the “A Record” associated with help.voxfor.com and click on it to manage or edit the DNS settings for that record.
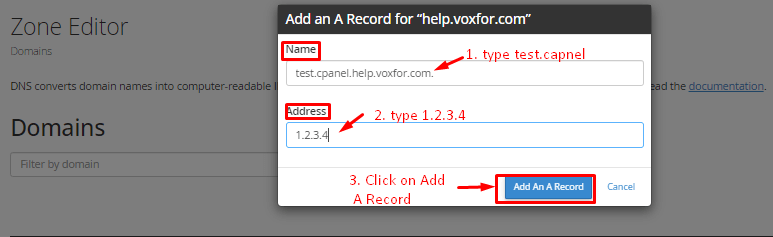
Enter “test.cpanel” in the “Name” field and “1.2.3.4” in the “Address” field. Then click “Add An A Record” to create a new A record with these details.
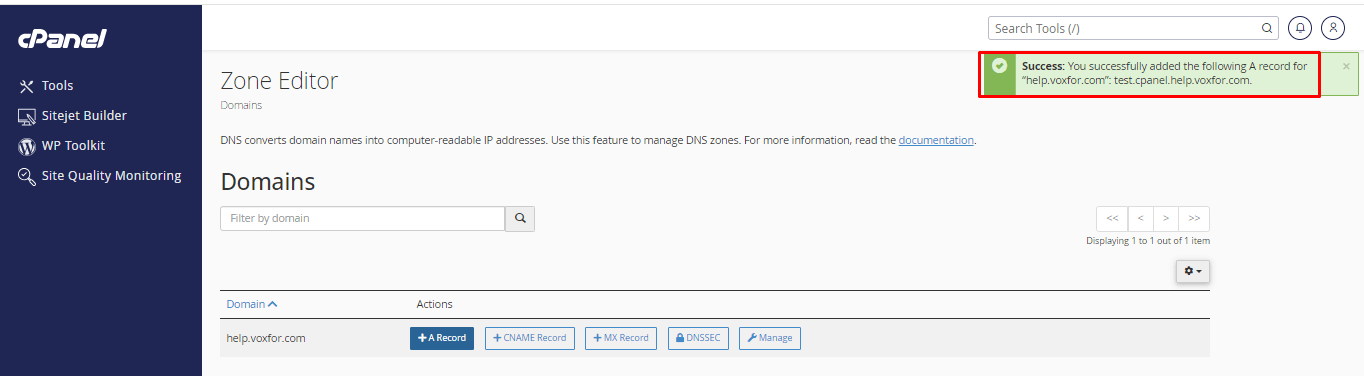
After adding the A record, you will see a confirmation message indicating that the A record has been successfully added.
Now that we’ve covered how to add A Record in cPanel DNS, you can also check out our installation guide in the video we created for additional help.


 Lifetime VPS Europe
 Lifetime VPS Asia
 Lifetime Hosting
 France Lifetime Dedicated Servers
 Germany Lifetime dedicated servers
 Lifetime Game Dedicated Servers
 Chicago, US
 Singapore
 Hong Kong
 Seoul, South Korea
 Amsterdem, Netherlands
 London, UK
 Zurich, Switzerland
 Sydney, Australia
 DDOS Protection
 Submit Ticket
 Full Management
 Videos and Podcasts
 Voxfor Advanced Price Management For WooCommerce
 Voxfor AI Content Summary


