
This guide details enabling Remote Desktop Protocol (RDP) access on Ubuntu 24, covering installation, configuration, troubleshooting, and advanced security practices. Whether you’re a beginner or an advanced user, this guide will show you how to set up RDP securely and efficiently.
Ubuntu remote desktop VPS
XRDP makes Ubuntu easier to manage with a graphical remote desktop. Voxfor VPS gives users flexible Linux server access for development, hosting, and remote work.
Remote Desktop Protocol (RDP) provides connections to a computer in a graphical interface. Microsoft originally built RDP, but it is very widely used in enterprise and personal environments to access files or software on another machine remotely.
RDP provides a smoother and more secure experience than traditional command-line tools like SSH. With Ubuntu 24, enabling RDP bridges the gap between Linux and other platforms like Windows.
Updated Ubuntu 24 Installation: Make sure your system is fully updated with:
sudo apt update && sudo apt upgrade -y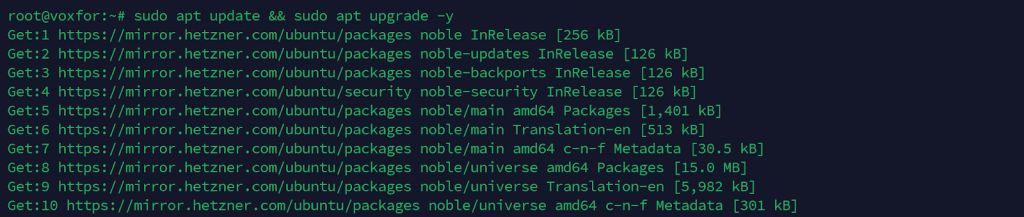
Before installing an RDP server, verify if any remote tools are installed using dpkg -l | grep remote. This command lists all remote-related packages, including SSH or XRDP. If no RDP-related package is found, install an RDP server like XRDP for remote desktop access.
dpkg -l | grep remote
xrdp is the most popular open-source RDP server for Linux. To install:
sudo apt update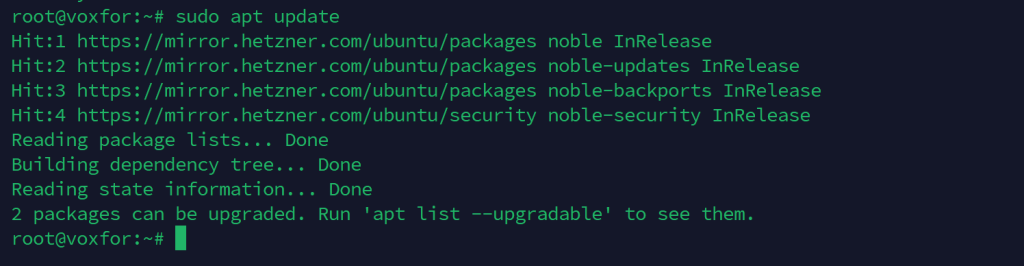
sudo apt install xrdp -y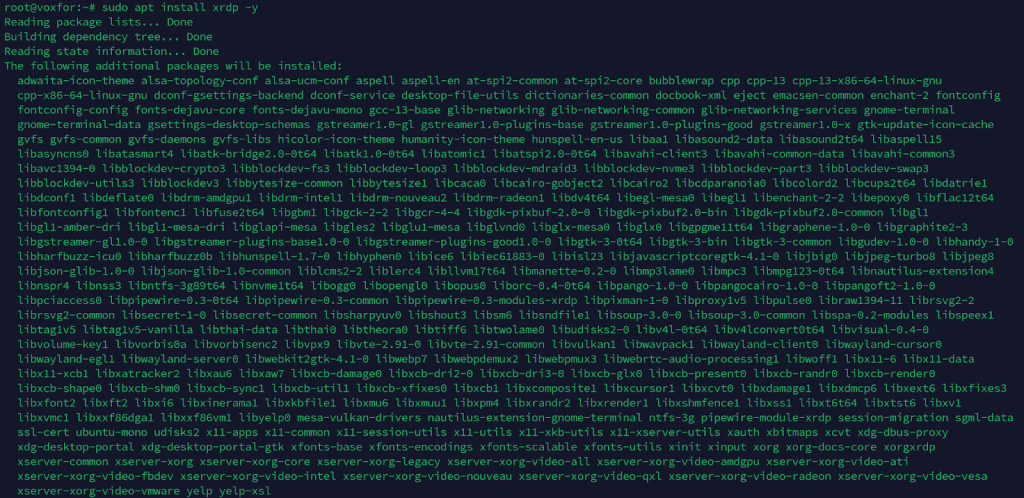
After installation, verify the XRDP service is running:
sudo systemctl status xrdp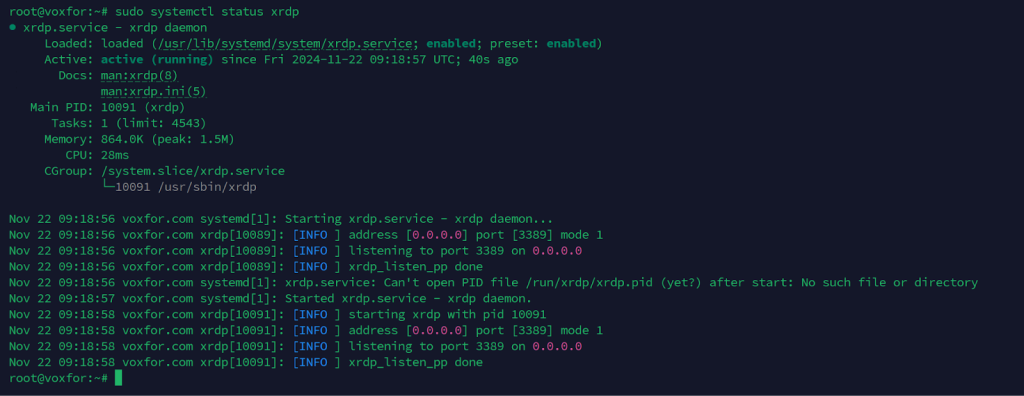
If inactive, start it with:
sudo systemctl start xrdp
If you are a user who would like to obtain solutions to the default XRDP server, there are several ways to go. For instance, if you know what kind of features you need, you can always prefer those options that offer more and more features. The two options in the list below are popular:
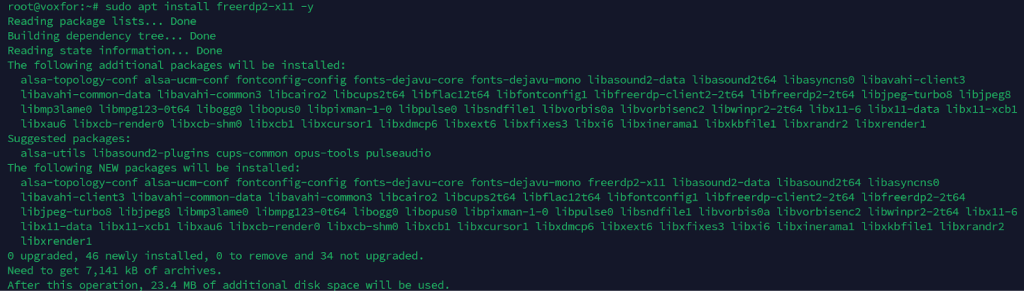
To install FreeRDP, use the following command:
sudo apt install freerdp2-x11 -yThis command ensures that the required FreeRDP packages are installed on your system. The—y flag automatically confirms the installation process.
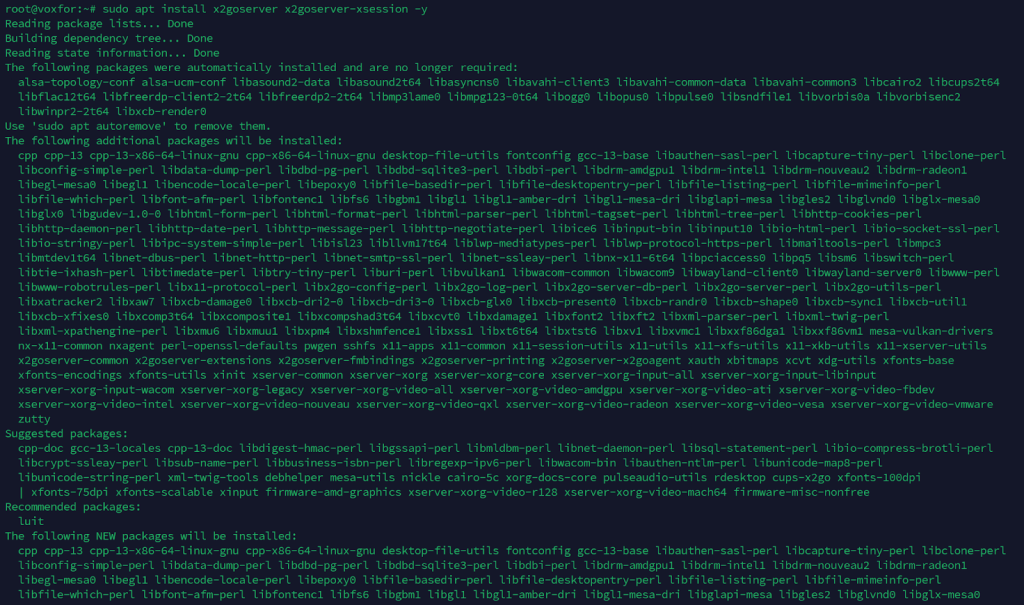
To install x2go, run the following command:
sudo apt install x2goserver x2goserver-xsession -yThis command installs the core server components for x2go and additional packages necessary for managing x2go sessions.
After the installation, some configuration steps are necessary to maximize XRDP. By default, XRDP uses a standard configuration, but you may need to edit specific settings or files to match your environment and requirements.
To make sure XRDP is good for the setup, we’ll adjust the configuration file. If that process involves specifying authentication settings, enabling support for multiple conversations, or tuning for performance, as it often does, it may take a long time.
Use a Text editor like nano to make the necessary adjustments.
sudo nano /etc/xrdp/xrdp.ini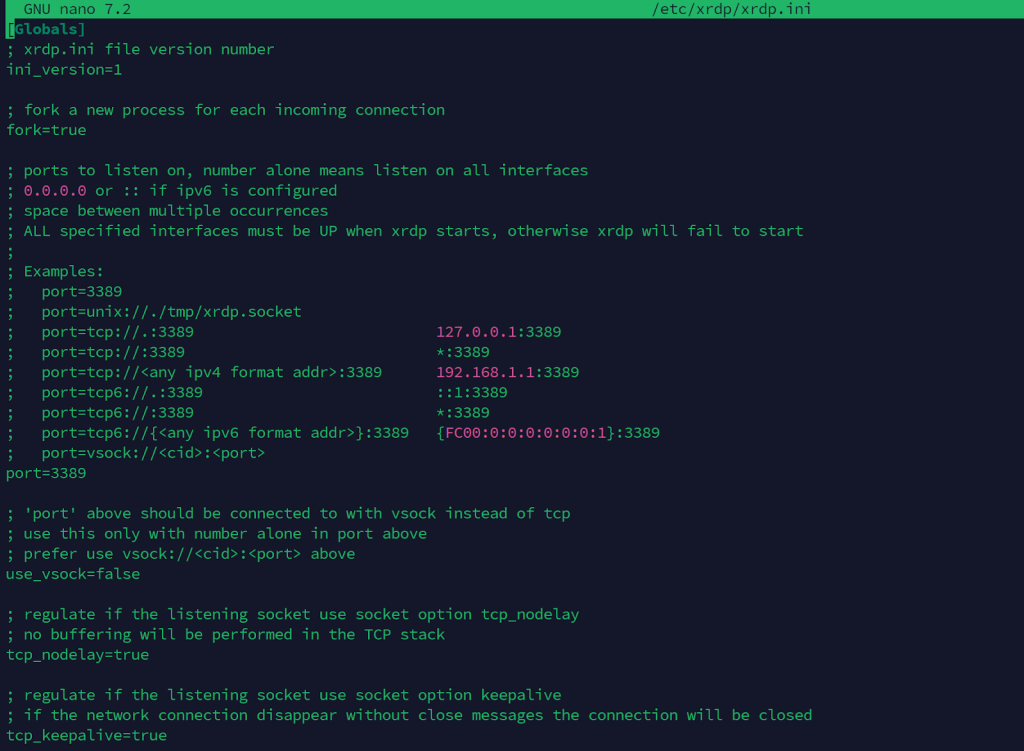
Necessary fields to configure:
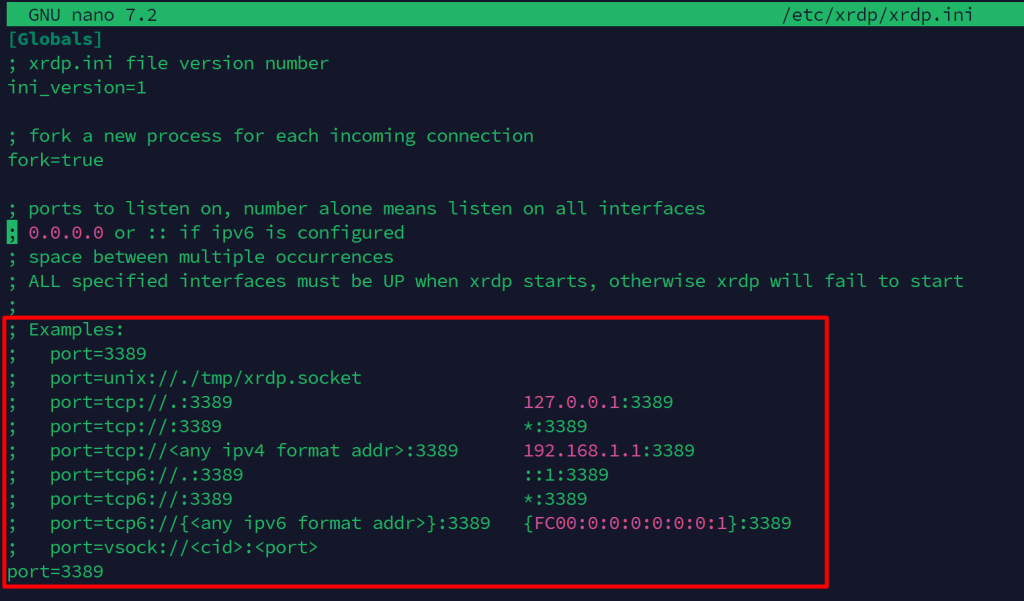
XRDP listens on port 3389 by default. While this is functional out of the box, changing this port for custom setups is advisable to enhance security and reduce the risks of unauthorized access or automated attacks targeting the default RDP port.
Encryption:
Configuring the encryption settings in the xrdp.ini file is crucial to confirm a secure and encrypted connection when using XRDP. Encryption protects sensitive data from being intercepted during transmission when connecting to your server over public or insecure networks.
security_layer=rdp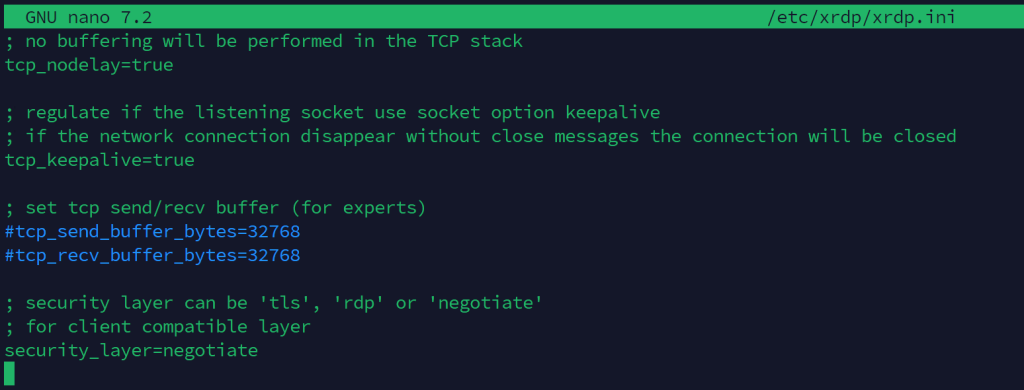
crypt_level=high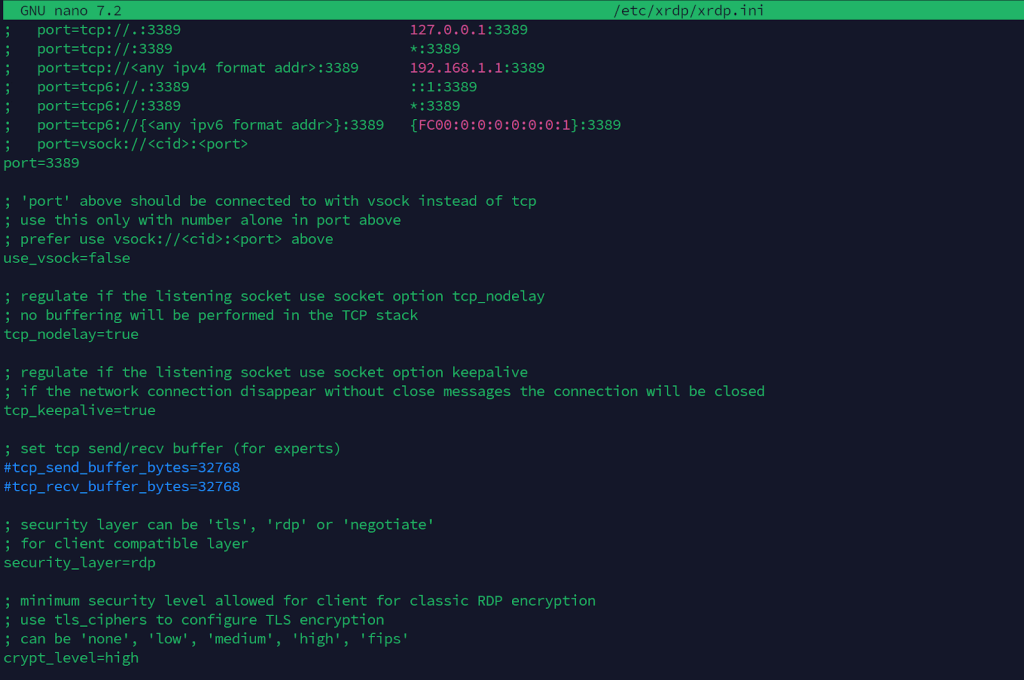
Once you’ve made any changes to the XRDP configuration files (such as modifying port settings, encryption options, or other parameters), restarting the XRDP service is essential to applying the updates.
sudo systemctl restart xrdp
You may need to modify the session startup configuration to ensure a seamless experience and avoid session conflicts. This process is particularly important if you use a custom desktop environment or face issues like duplicate or failing sessions.
To avoid session conflicts, edit /etc/xrdp/startwm.sh
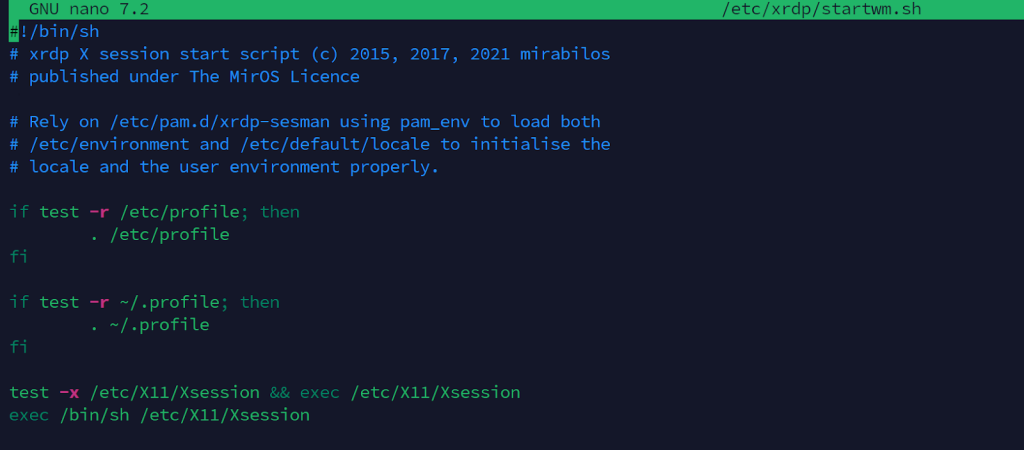
and confirm it launches your desired desktop environment. For example:
unset DBUS_SESSION_BUS_ADDRESS
exec startxfce4Edit /etc/xrdp/xrdp.ini:
port=3390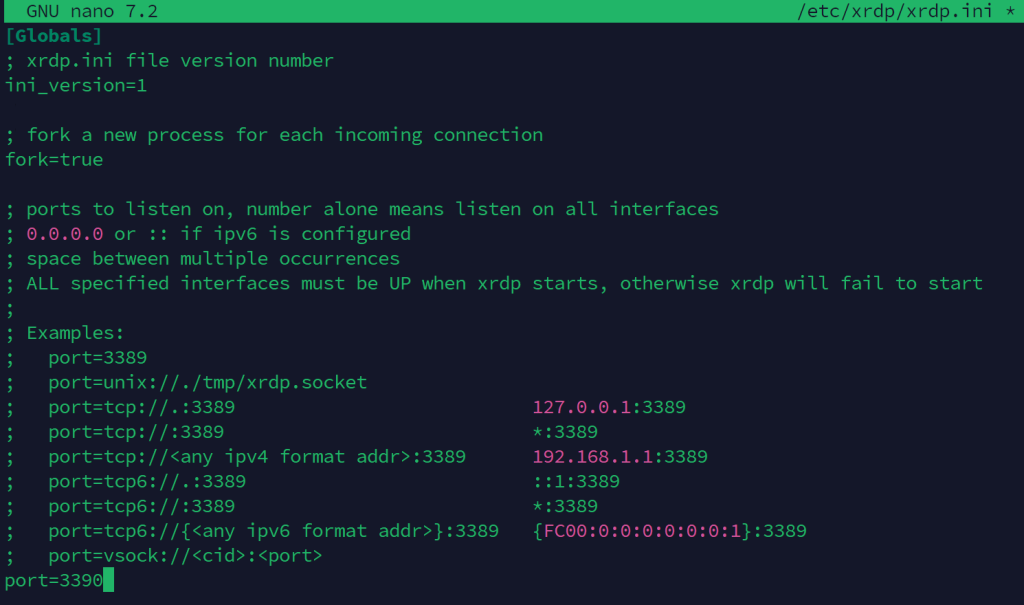
sudo ufw allow 3390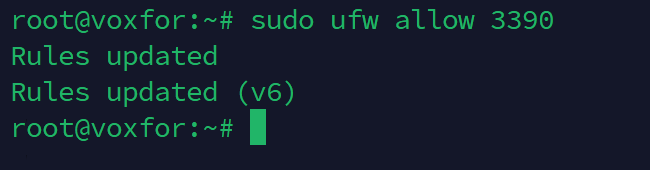
Ubuntu Server installations typically lack a graphical desktop environment, as they are optimized for command-line operations. To enable remote desktop functionality, XRDP must install a desktop environment that can provide graphical access.
For RDP access, it’s best to install a lightweight desktop environment that is optimized for remote connections. A commonly recommended option is XFCE, which balances functionality and performance well.
XFCE (lightweight):
sudo apt install xfce4 xfce4-goodies -y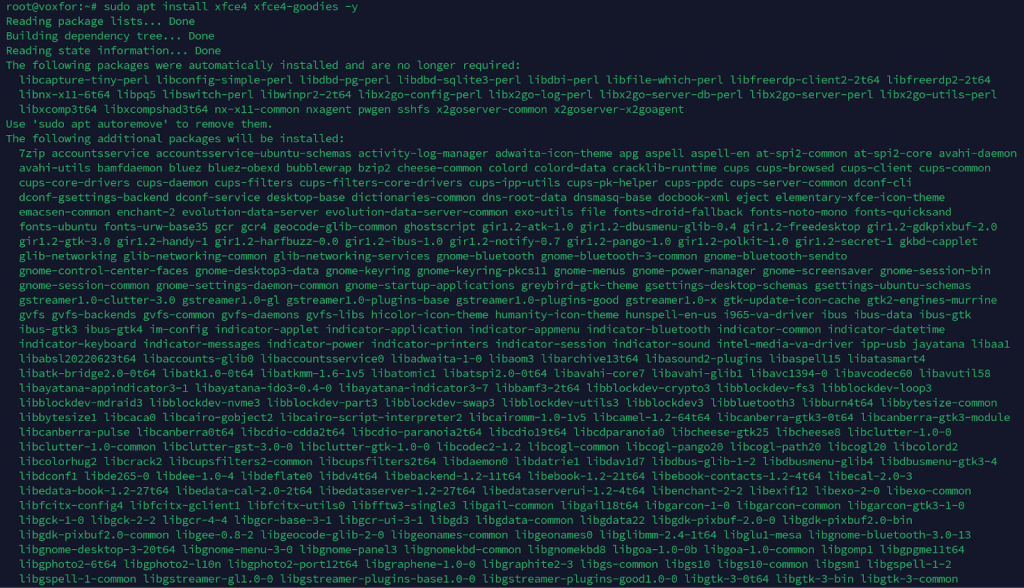
GNOME (default for Ubuntu):
Ubuntu Desktop installations often come with GNOME as the default desktop environment. If you use an Ubuntu Server setup or need to install GNOME manually, follow the steps below.
GNOME provides a feature-rich and visually appealing desktop environment suitable for users who prefer a more modern interface. To install GNOME, run the following command:
sudo apt install ubuntu-desktop -y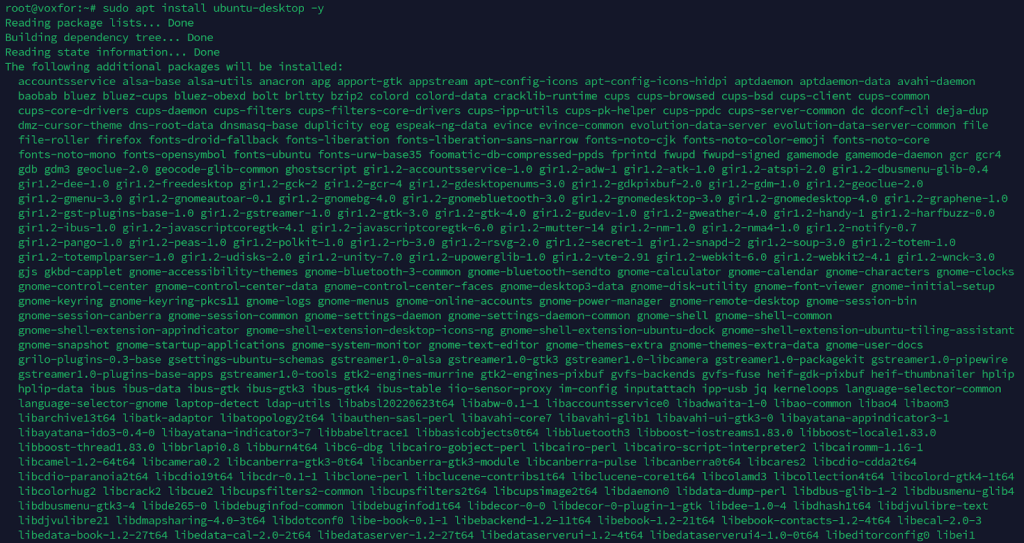
Edit /etc/xrdp/startwm.sh to set the desktop environment:
startxfce4When connecting to the remote server via RDP, you may see a security warning stating: “The publisher of this remote connection can’t be identified.” This error occurs because XRDP uses a self-signed certificate by default. To proceed, click Connect or suppress future warnings by checking “Don’t ask me again for connections to this computer.”
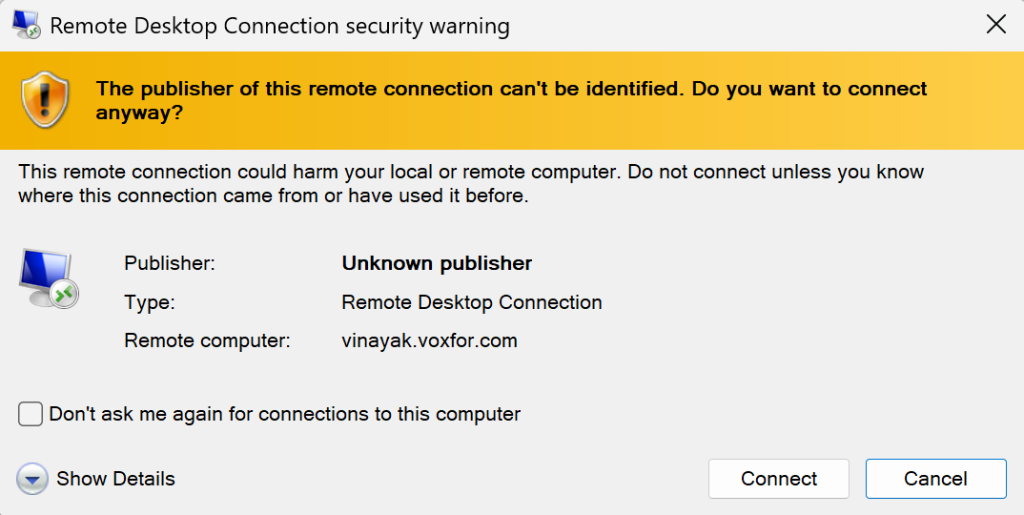
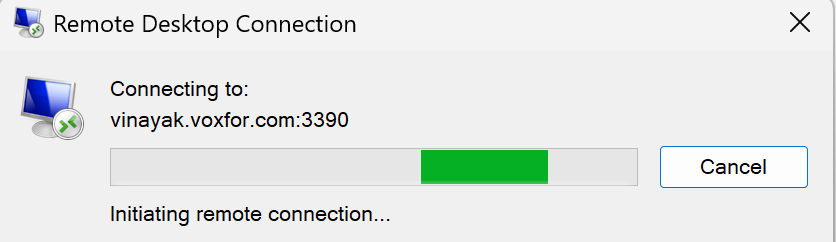
When initiating a remote desktop connection, the RDP client communicates with the server at the specified address and port (e.g., vinayak.voxfor.com:3390). The connection process involves verifying server availability, initiating the handshake, and setting up the graphical session. Once thriving, the remote desktop interface will appear, granting access to the server environment.
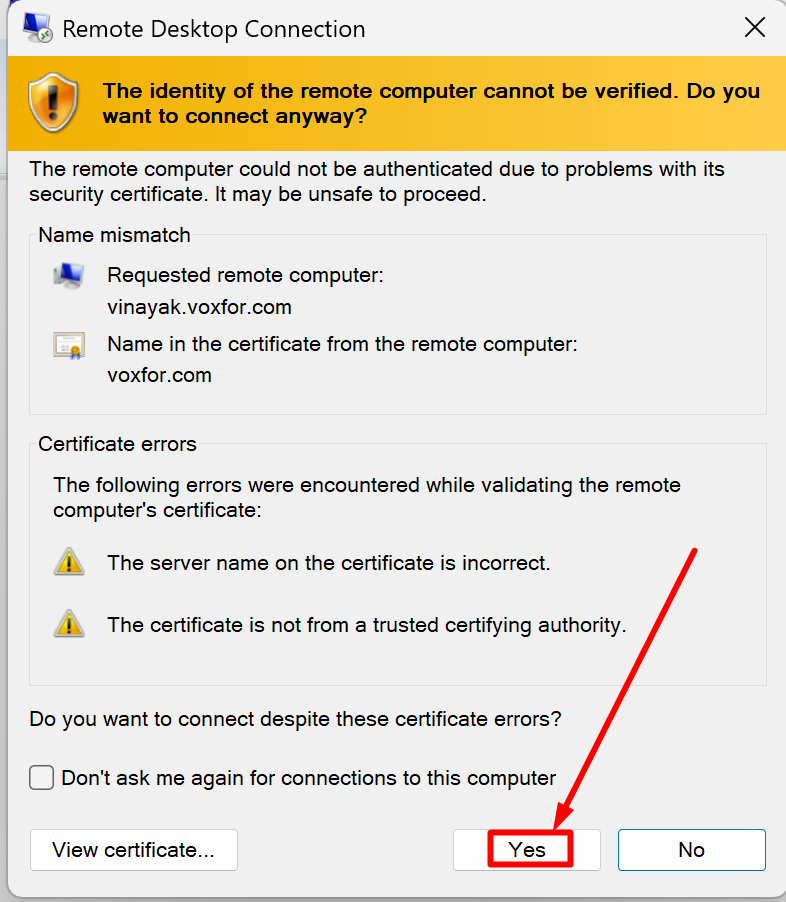
When connecting via RDP, a warning may appear stating, “The remote computer’s identity cannot be verified.” This warning occurs due to certificate issues like a name mismatch or an untrusted certificate authority. Despite the warning, you can proceed by clicking “Yes” or checking “Don’t ask me again” to suppress future prompts for this connection.
When successfully connected via XRDP, you will see a login screen similar to the one shown. Select your preferred session type (e.g., Xorg), enter your server username and password, and click OK. This grants access to the remote desktop environment configured for your server.
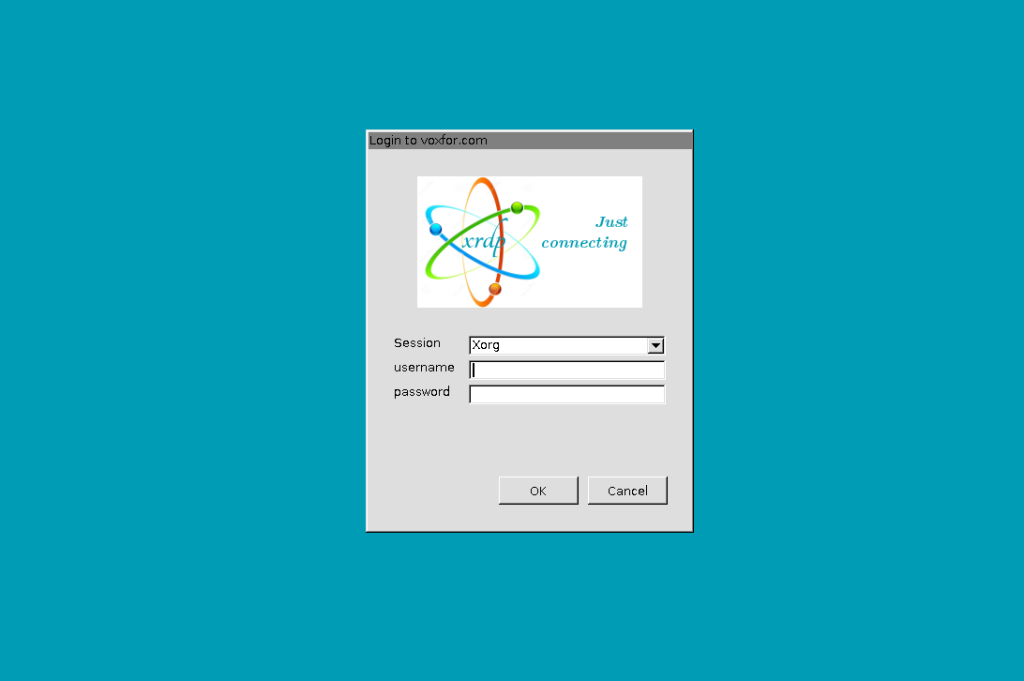
When logging into XRDP, select your session type, such as Xorg, and enter your username (e.g., root) and the corresponding password. Once authenticated, click OK to access the configured desktop environment on the remote server. This grants you complete remote control over the server’s GUI interface.

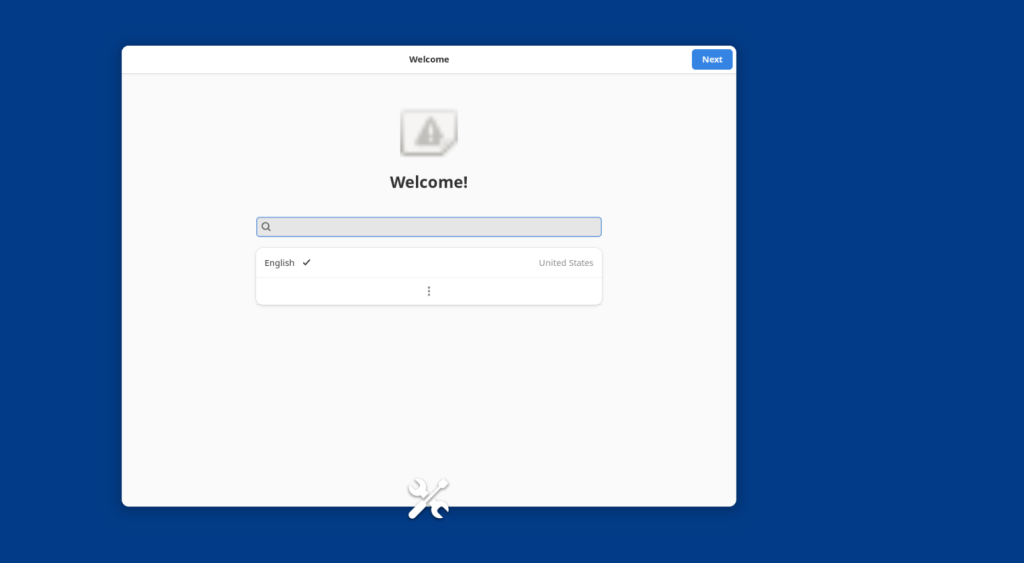
This screen indicates the successful establishment of a remote desktop session. It shows the welcome setup wizard for your desktop environment, prompting you to select language preferences and other initial configurations. Follow the steps by clicking Next to complete the setup and access your entire desktop interface. This process marks the final stage of enabling RDP on your server.
Check if the default RDP port (3389) is open:
sudo ufw allow 3389
sudo ufw enable
sudo ufw status
Adjusting Router Settings
Find your system’s local IP:
ip addr show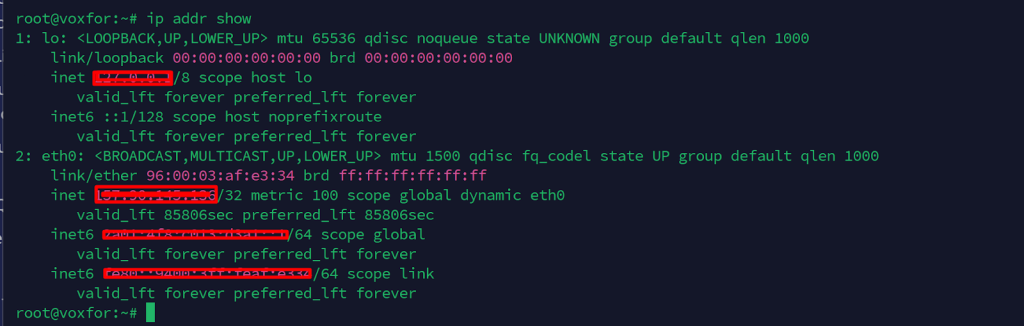
Discover your public IP:
curl ifconfig.me
Edit /etc/xrdp/xrdp.ini to optimize:
bitmap_cache=yesjpeg_quality=highProtect against brute-force attacks:
sudo apt install fail2ban -y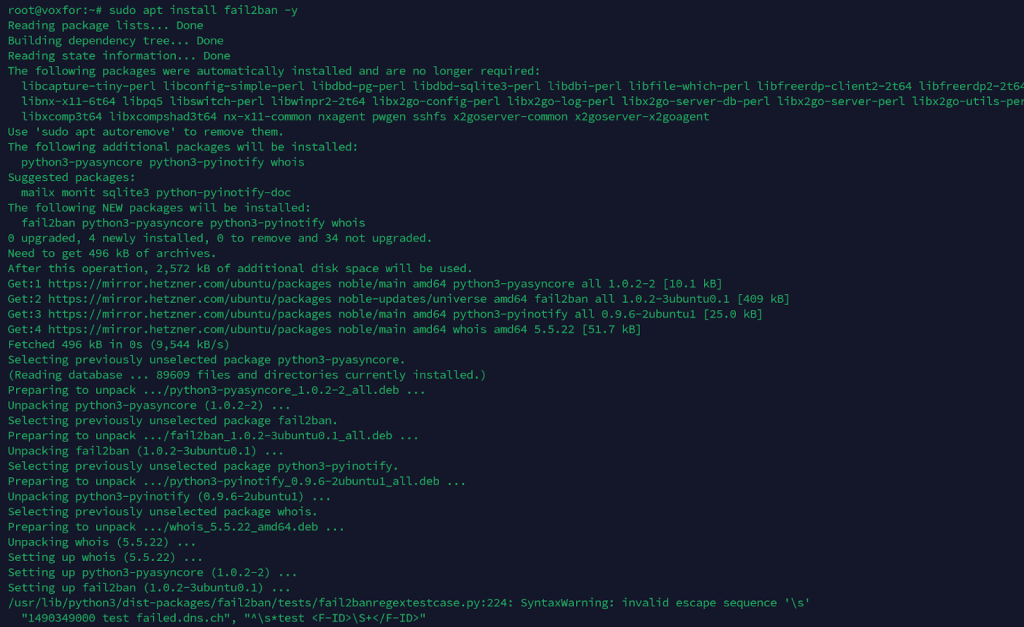
Using Certificates for Encrypted Connections
Generate an SSL certificate:
sudo openssl req -x509 -nodes -days 365 -newkey rsa:2048 -keyout /etc/xrdp/key.pem -out /etc/xrdp/cert.pemUpdate /etc/xrdp/xrdp.ini to include certificate paths.
/etc/xrdp/startwm.sh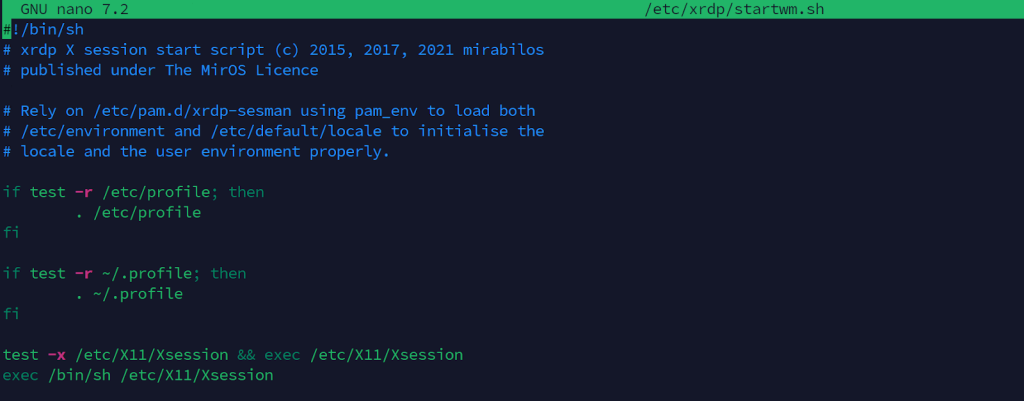
Here is how which gives a good deal of Ubuntu 24.04 to avail RDP to manage their systems with a graphical interface remotely.
Instruction: Enable the Graphical Interface for Remote Desktop Services on the Linux distribution Ubuntu 24.04. According to this guide, you can install, configure, and optimize RDP by using xRDP or other servers like FreeRDP or x2go. With formant access and other basic security features like encryption and fail2ban installed, you can be sure of safe remote access with the least compromise on your system’s performance.
This process ensures that Linux connects with these other platforms, making work productive and easy for the analyst and remote users. Whether for personal use or enterprise purposes, RDP access on Ubuntu is a powerful tool, ensuring a secure, efficient, and user-friendly environment when configured correctly.

Vinayak Baranwal wrote this article. Use the provided link to connect with Vinayak on LinkedIn for more insightful content or collaboration opportunities.


 Lifetime Hosting
 France Lifetime Dedicated Servers
 Germany Lifetime dedicated servers
 Lifetime Game Dedicated Servers
 Chicago, US
 Singapore
 Hong Kong
 Seoul, South Korea
 Amsterdem, Netherlands
 London, UK
 Zurich, Switzerland
 Sydney, Australia
 DDOS Protection
 Submit Ticket
 Full Management
 Videos and Podcasts
 Voxfor Advanced Price Management For WooCommerce
 Voxfor AI Content Summary


