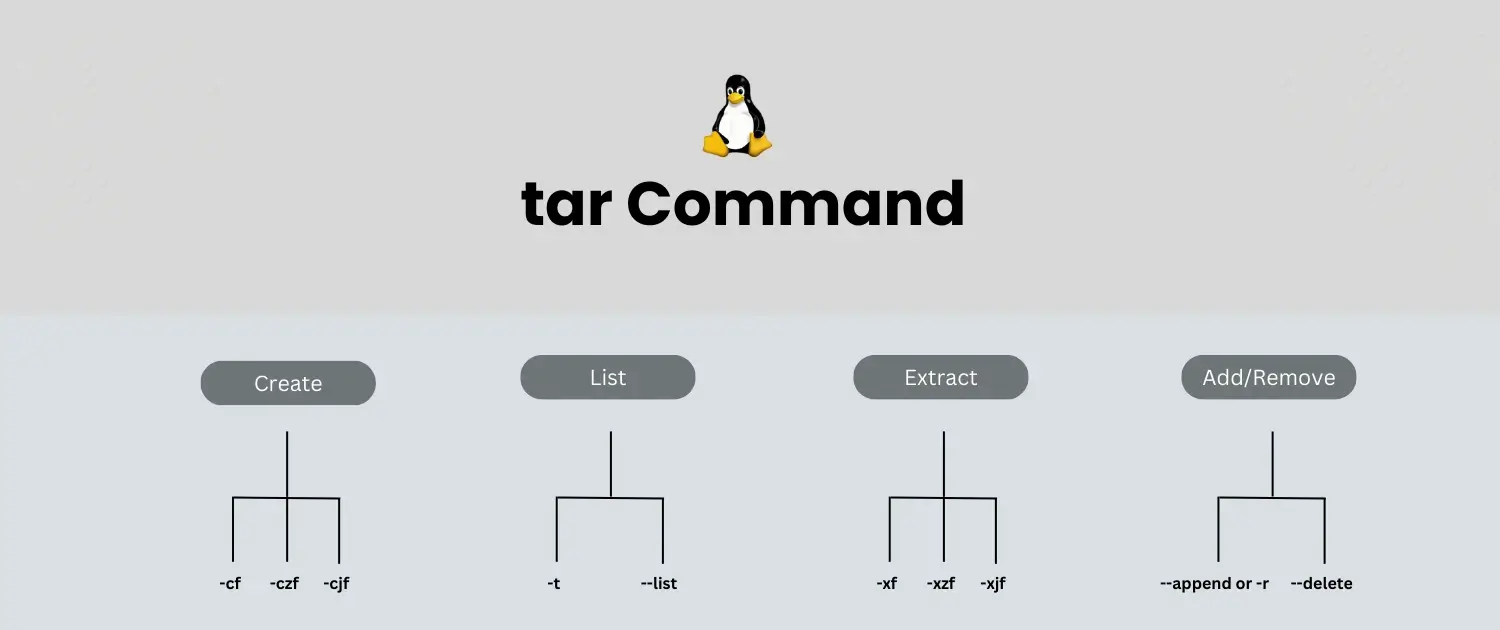
One of the most widely used Linux commands to create an archive of files stood for Tape Archive. It helps users to store, share, and, as a matter of fact, back up multiple files into one, which makes it easier for them. System administrators and users will find helpful tar Commands because they can compress these files to save space.
Linux archive management
Tar commands are essential for backups, deployments, and file transfers. Voxfor VPS gives you direct Linux control for managing hosting files and server workflows.

Let’s look at 20 necessary tar commands, with examples and explanations in the article. This guide makes it easy for anyone to learn and use the tar command.
The general structure of the tar command is as follows:
tar [options] [archive_name.tar] [file or directory to be archived]Understanding these components will help you effectively use the tar command for various tasks.
Use the—cf option to create an archive from files or directories. This command bundles specified files and directories into a single archive file, making managing it easier. Use this command when organizing multiple files into a single location.
tar -cvf archive_name.tar file1 file2 directory/
Use the—xvf options to extract files from an archive. This command will download and restore the specified archive files to their original location, making it very useful for accessing archived data.
tar -xvf archive_name.tar
You can compress the archive using gzip with the -z option. This command creates and compresses an archive, resulting in a smaller file size. It is ideal for saving space when storing or transferring files.
tar -czvf archive_name.tar.gz file1 file2 directory/
As before, to extract a .tar.gz archive, use the same -x options and add—z for decompression. With this command, files in the archive will be easily decompressed and extracted to make them accessible.
tar -xzvf archive_name.tar.gz
For higher compression, use the -j option for bzip2. This command creates an archive while applying bzip2 compression, which usually results in smaller file sizes than gzip. It’s great for maximizing space savings.
tar -cjvf archive_name.tar.bz2 file1 file2 directory/
Use the—xjvf options to extract a .tar.bz2 archive. This command will decompress and extract files from a bzip2-compressed archive, making them available for immediate use while maintaining their original structure.
tar -xjvf archive_name.tar.bz2
The -tvf option will allow you to view the files in an archive without extracting them. This command lists the detailed contents of the archive before extracting.
tar -tvf archive_name.tar
If you want to extract a specific file, specify its name after the -xvf options. This command lets you retrieve only the files you need from an archive, saving time and storage space.
tar -xvf archive_name.tar file1
Use the—rvf option to append a file to an existing tar archive. This command allows you to include additional files in an existing archive without recreating it, making updates convenient and efficient.
tar -rvf archive_name.tar newfile.txt
To remove a file from an archive, use the—- delete option (which only works with uncompressed archives). This command eliminates files from an existing archive, making your files less messy and more accessible to keep organized.
tar --delete -f archive_name.tar file_to_remove.txt
To extract to a different directory, use the -C option. Running this command allows me to specify where the extraction process will be executed, allowing me to control file organization afterward.
tar -xvf archive_name.tar -C /path/to/directory
For maximum compression, you can use the -J option. This command creates an archive and compresses it with xz, which typically achieves better compression rates than gzip and bzip2, making it ideal for reducing file sizes.
tar -cJvf archive_name.tar.xz file1 file2 directory/
You use -xJvf to extract a .tar.xz file. This command will successfully decompress and extract files from the xz compressed archive and leave you outputting the files as if the archive wasn’t there.
tar -xJvf archive_name.tar.xz
Use the command with various paths to create an archive containing multiple directories. This command packages several directories into one archive, lowering the hassle regarding file storage and ensuring all related files stay together.
tar -cvf archive_name.tar /dir1 /dir2 /dir3
When creating an archive, use the –exclude option to exclude files or directories. This command allows you to specify patterns for files or directories that should not be included in the archive, enhancing control over the contents.
tar -cvf archive_name.tar --exclude='*.log' directory/
Use– checkpoints to monitor the progress while creating or extracting an archive. This command provides visual feedback during the archiving process, indicating progress at specified intervals, which is helpful for large operations.
tar -cvf archive_name.tar directory/ --checkpoint=.100
To extract multiple .tar.gz files in a directory at once, can use a loop. This command processes each matching archive file in the current directory, quickly removing all contents without running separate commands.
for file in *.tar.gz; do tar -xzvf "$file"; done
Use the—- skip-old-files option to avoid overwriting existing files during extraction. This command ensures data integrity by saving existing files and preventing them from being replaced during extraction.
tar -xvf archive_name.tar --skip-old-files
If you want to verify an archive without extracting it, use the -W option. This command ensures the specified archive is complete and error-free, as data reliability is based on the file structure.
tar -tvf archive_name.tar -WYou can specify the compression program directly with –use-compress-program. This command allows you to select which compression method to use while creating an archive, providing flexibility depending on your specific needs for file size and compatibility.
tar --use-compress-program=gzip -cvf archive_name.tar.gz file1 file2
The tar command is an essential file-handling utility in Linux that helps users create, extract, and manipulate archives. Learning these 20 commands will make you more productive and simplify dealing with data, backups, and file transfers. With tar Commands, you can roll up several files or directories into one extensive archive for organization, make a file take up less space with compression tools such as gzip and bzip2, or disassemble only the portions you want, guaranteeing you get what you want.
The command also allows you to check the integrity of your archives and ensure that the data they contain is reliable. The tar command in your workflow provides a solution for managing data. Regardless of your level of computing experience, these commands will significantly help you in several different computing environments. You can review this guide at any point to refresh your Linux skills and share it with those who’d like to increase theirs. Happy archiving!

Vinayak Baranwal wrote this article. Use the provided link to connect with Vinayak on LinkedIn for more insightful content or collaboration opportunities.


 Lifetime VPS Europe
 Lifetime VPS Asia
 Lifetime Hosting
 France Lifetime Dedicated Servers
 Germany Lifetime dedicated servers
 Lifetime Game Dedicated Servers
 Chicago, US
 Singapore
 Hong Kong
 Seoul, South Korea
 Amsterdem, Netherlands
 London, UK
 Zurich, Switzerland
 Sydney, Australia
 DDOS Protection
 Submit Ticket
 Full Management
 Videos and Podcasts
 Voxfor Advanced Price Management For WooCommerce
 Voxfor AI Content Summary


